How to Make a Hardworking Garden Apron - Super Easy!
Transform a Waiter’s Apron into a Customizable Garden Apron

Why this works:
Waiter’s aprons are typically durable, easy to wipe clean, and already waterproof…making them a perfect base for a garden apron with just a few thoughtful alterations.
I tested several different styles of pre-made aprons and chose this one because it has an adjustable waist clip instead of a tie, it is waterproof and washable, and it is made with heavy canvas fabric.
I ordered the apron online.
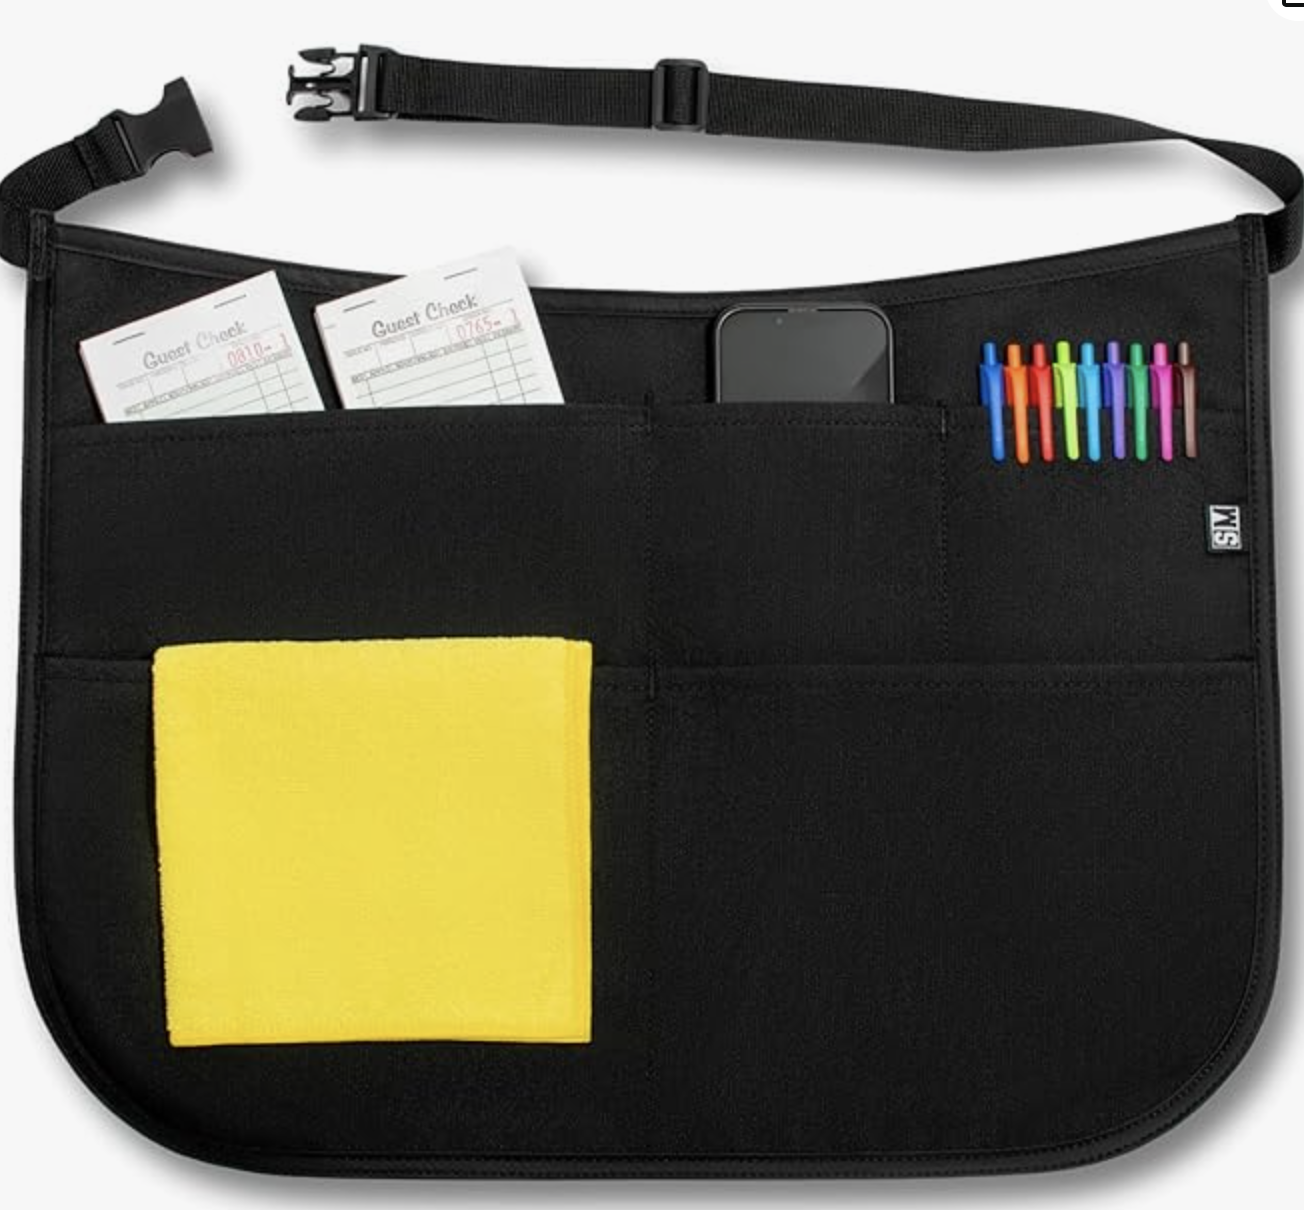
Photo from SupplyMade Store
You can absolutely use the apron as-is…but I wanted to customize it with a few extra pockets for the tools I reach for most. Here’s what you need.
Supplies
1 waterproof waiter’s apron
Scissors
Black Thread
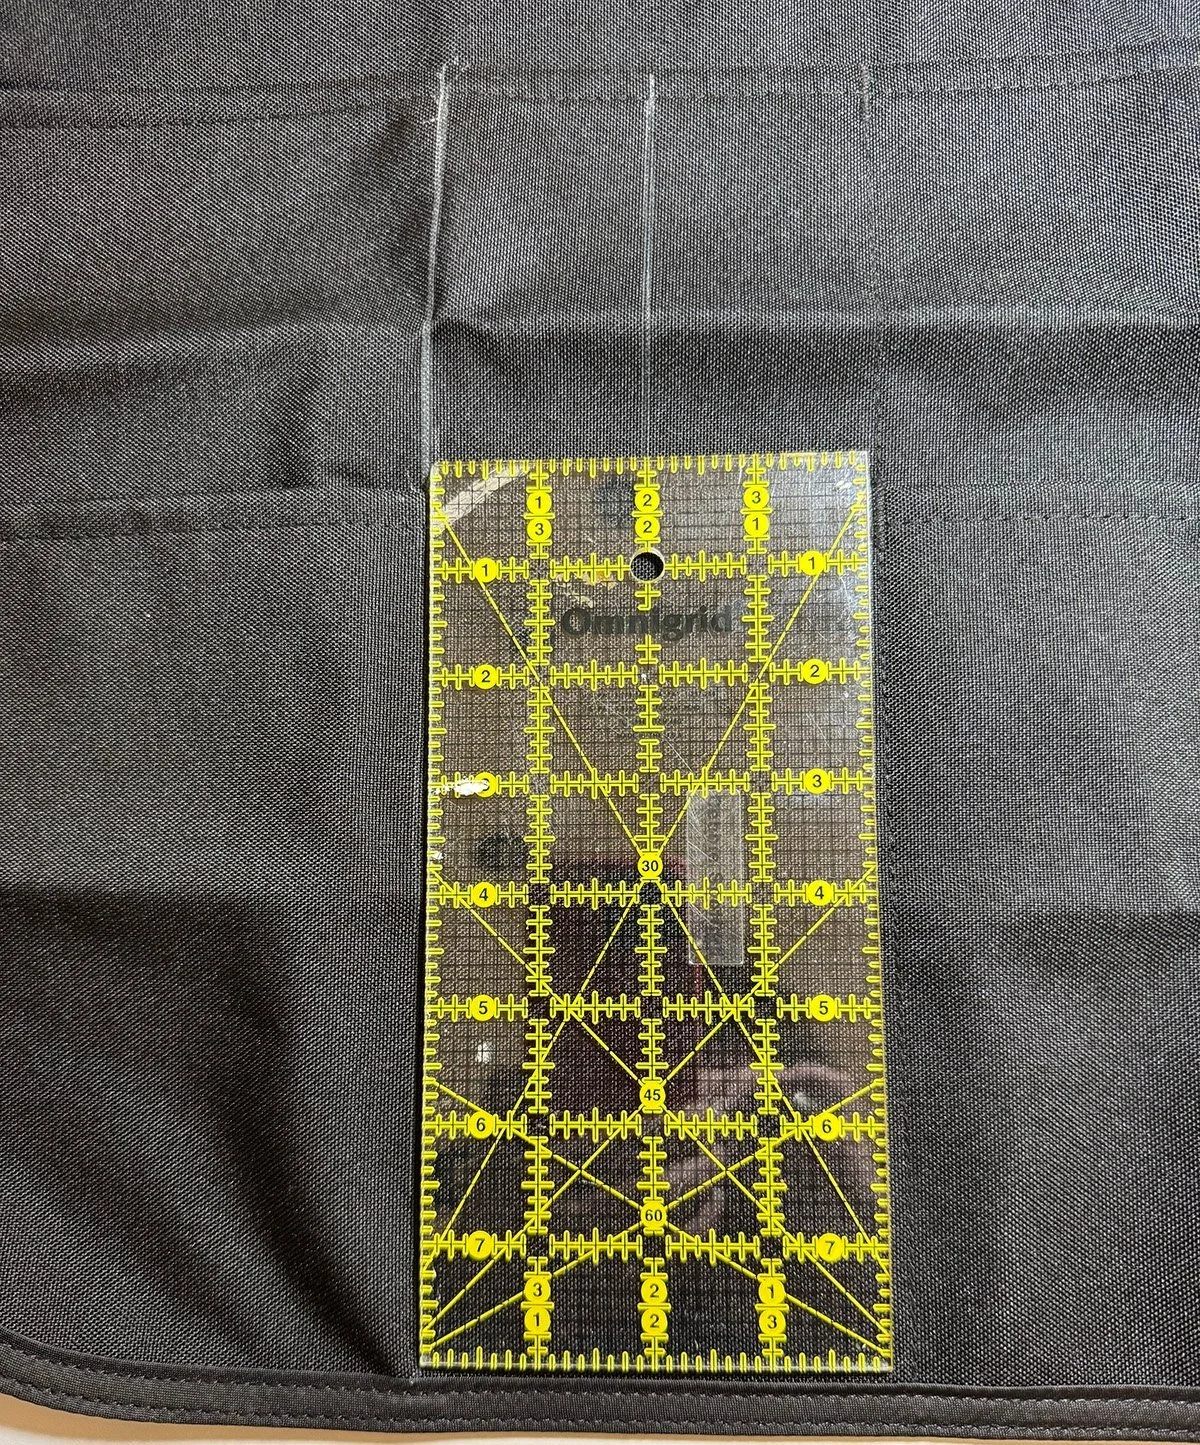
Ruler (I used my 2 inch and 4 inch quilting rulers)
Erasable Pen
Sewing machine
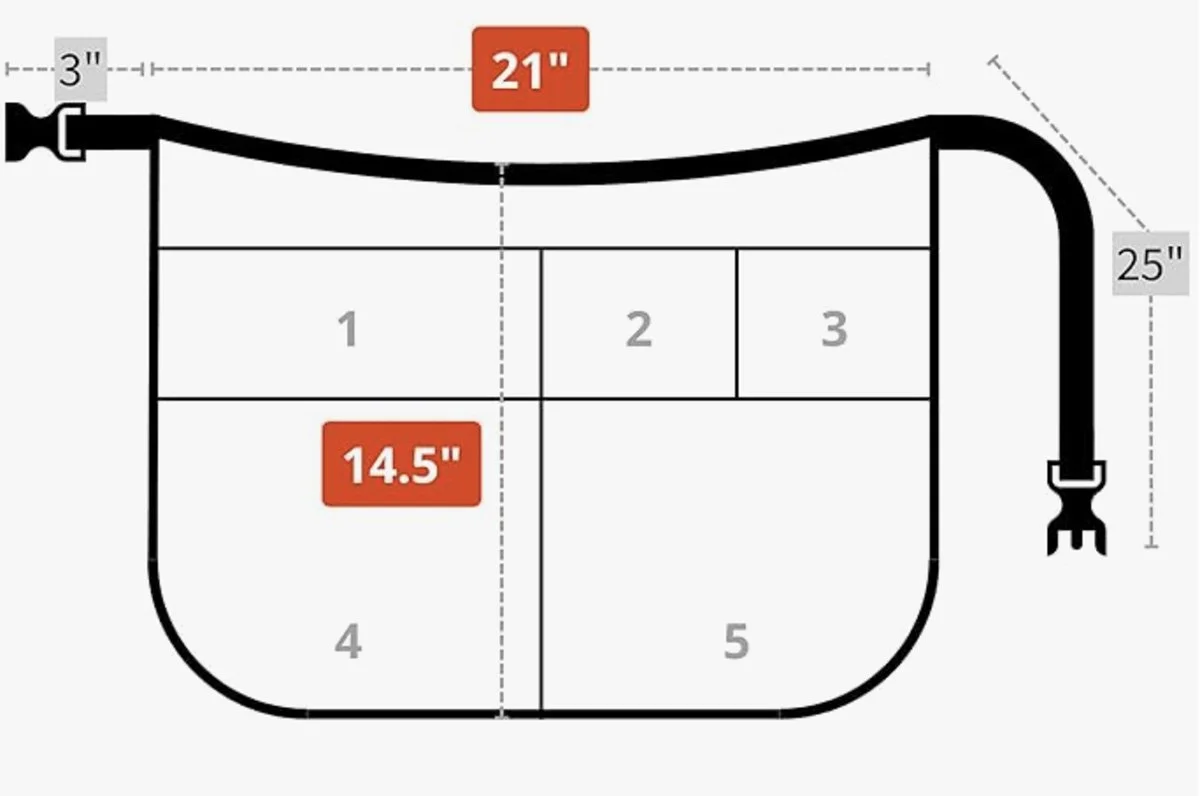
Image from SupplyMade Store

This is the 5 pocket configuration as it arrives from the store.
My goal for this apron was to add three additional pockets:
A tall, narrow pocket for my Hori Hori knife
A slim pocket for permanent markers
A small pocket for my scissors
Before you begin, take a moment to consider the tools you use most often.
You can easily adjust the size, shape, and placement of the pockets to suit your unique needs.
Here’s how I modified the apron to include 3 extra pockets:
Instructions
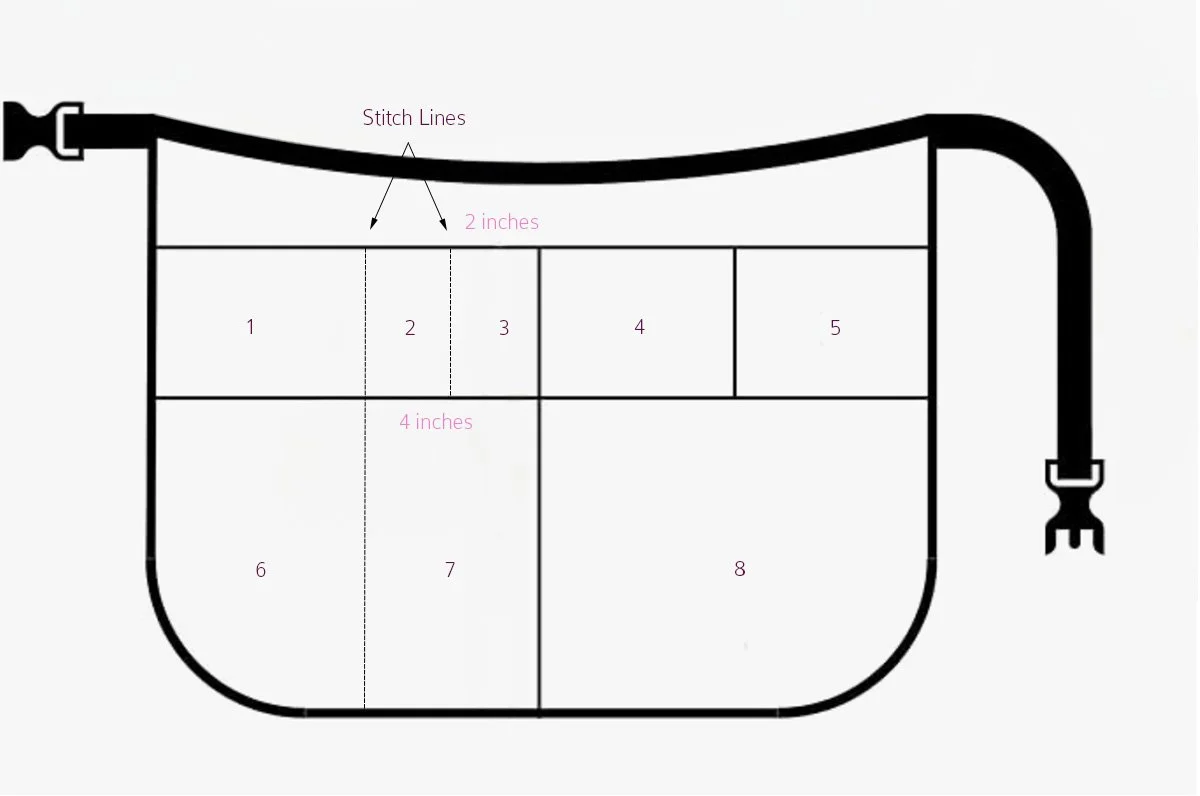

Draw stitch lines
Draw stitch lines
Draw stitch lines on the apron with an erasable pen.
1) Measure 2 inches to the left of the center stitch line. Draw the line on top of the upper pocket and extend it under the lower pocket. This stitch line will go underneath the lower pocket.
2) Measure 4 inches to the left of the center stitch line. Draw a line on top of both the upper and lower pockets.

Reinforce the top edge of the pocket with backstitches
Stitch the 2 Inch Pocket
3) Pin or hold the lower pocket out of the way, then stitch the 2-inch pocket from top to bottom. This stitch line will run beneath the lower pocket.
At the beginning of the stitch, reinforce the top edge of the new pocket with several backstitches.

Sewing the new 2 inch pocket under the lower pocket

Stitch line stops at the bottom of the upper pocket

Sewing the 4 inch pocket

Stitching complete for both pockets
Stitch the 4 Inch Pocket
4) Stitch the 4 inch pocket from top to bottom. This stitch line will go on top of the lower pocket.
Reinforce the top edge of the upper pocket and the top edge of the lower pocket with backstitches. These areas will be high stress points on your apron.

Remove Drawn Lines
5) Erase the drawn stitch lines from your apron.

Fill Your Apron
6) Fill the pockets with essential tools you need for the garden.
Adding custom pockets to your apron is a simple way to make it more functional and unique to you. With just a few stitches, you can keep your most-used tools right where you need them.
I hope this inspires you to tailor your apron to your own work style! Let me know in the comments!
For more garden tips click here and here!
Featured Garden Products
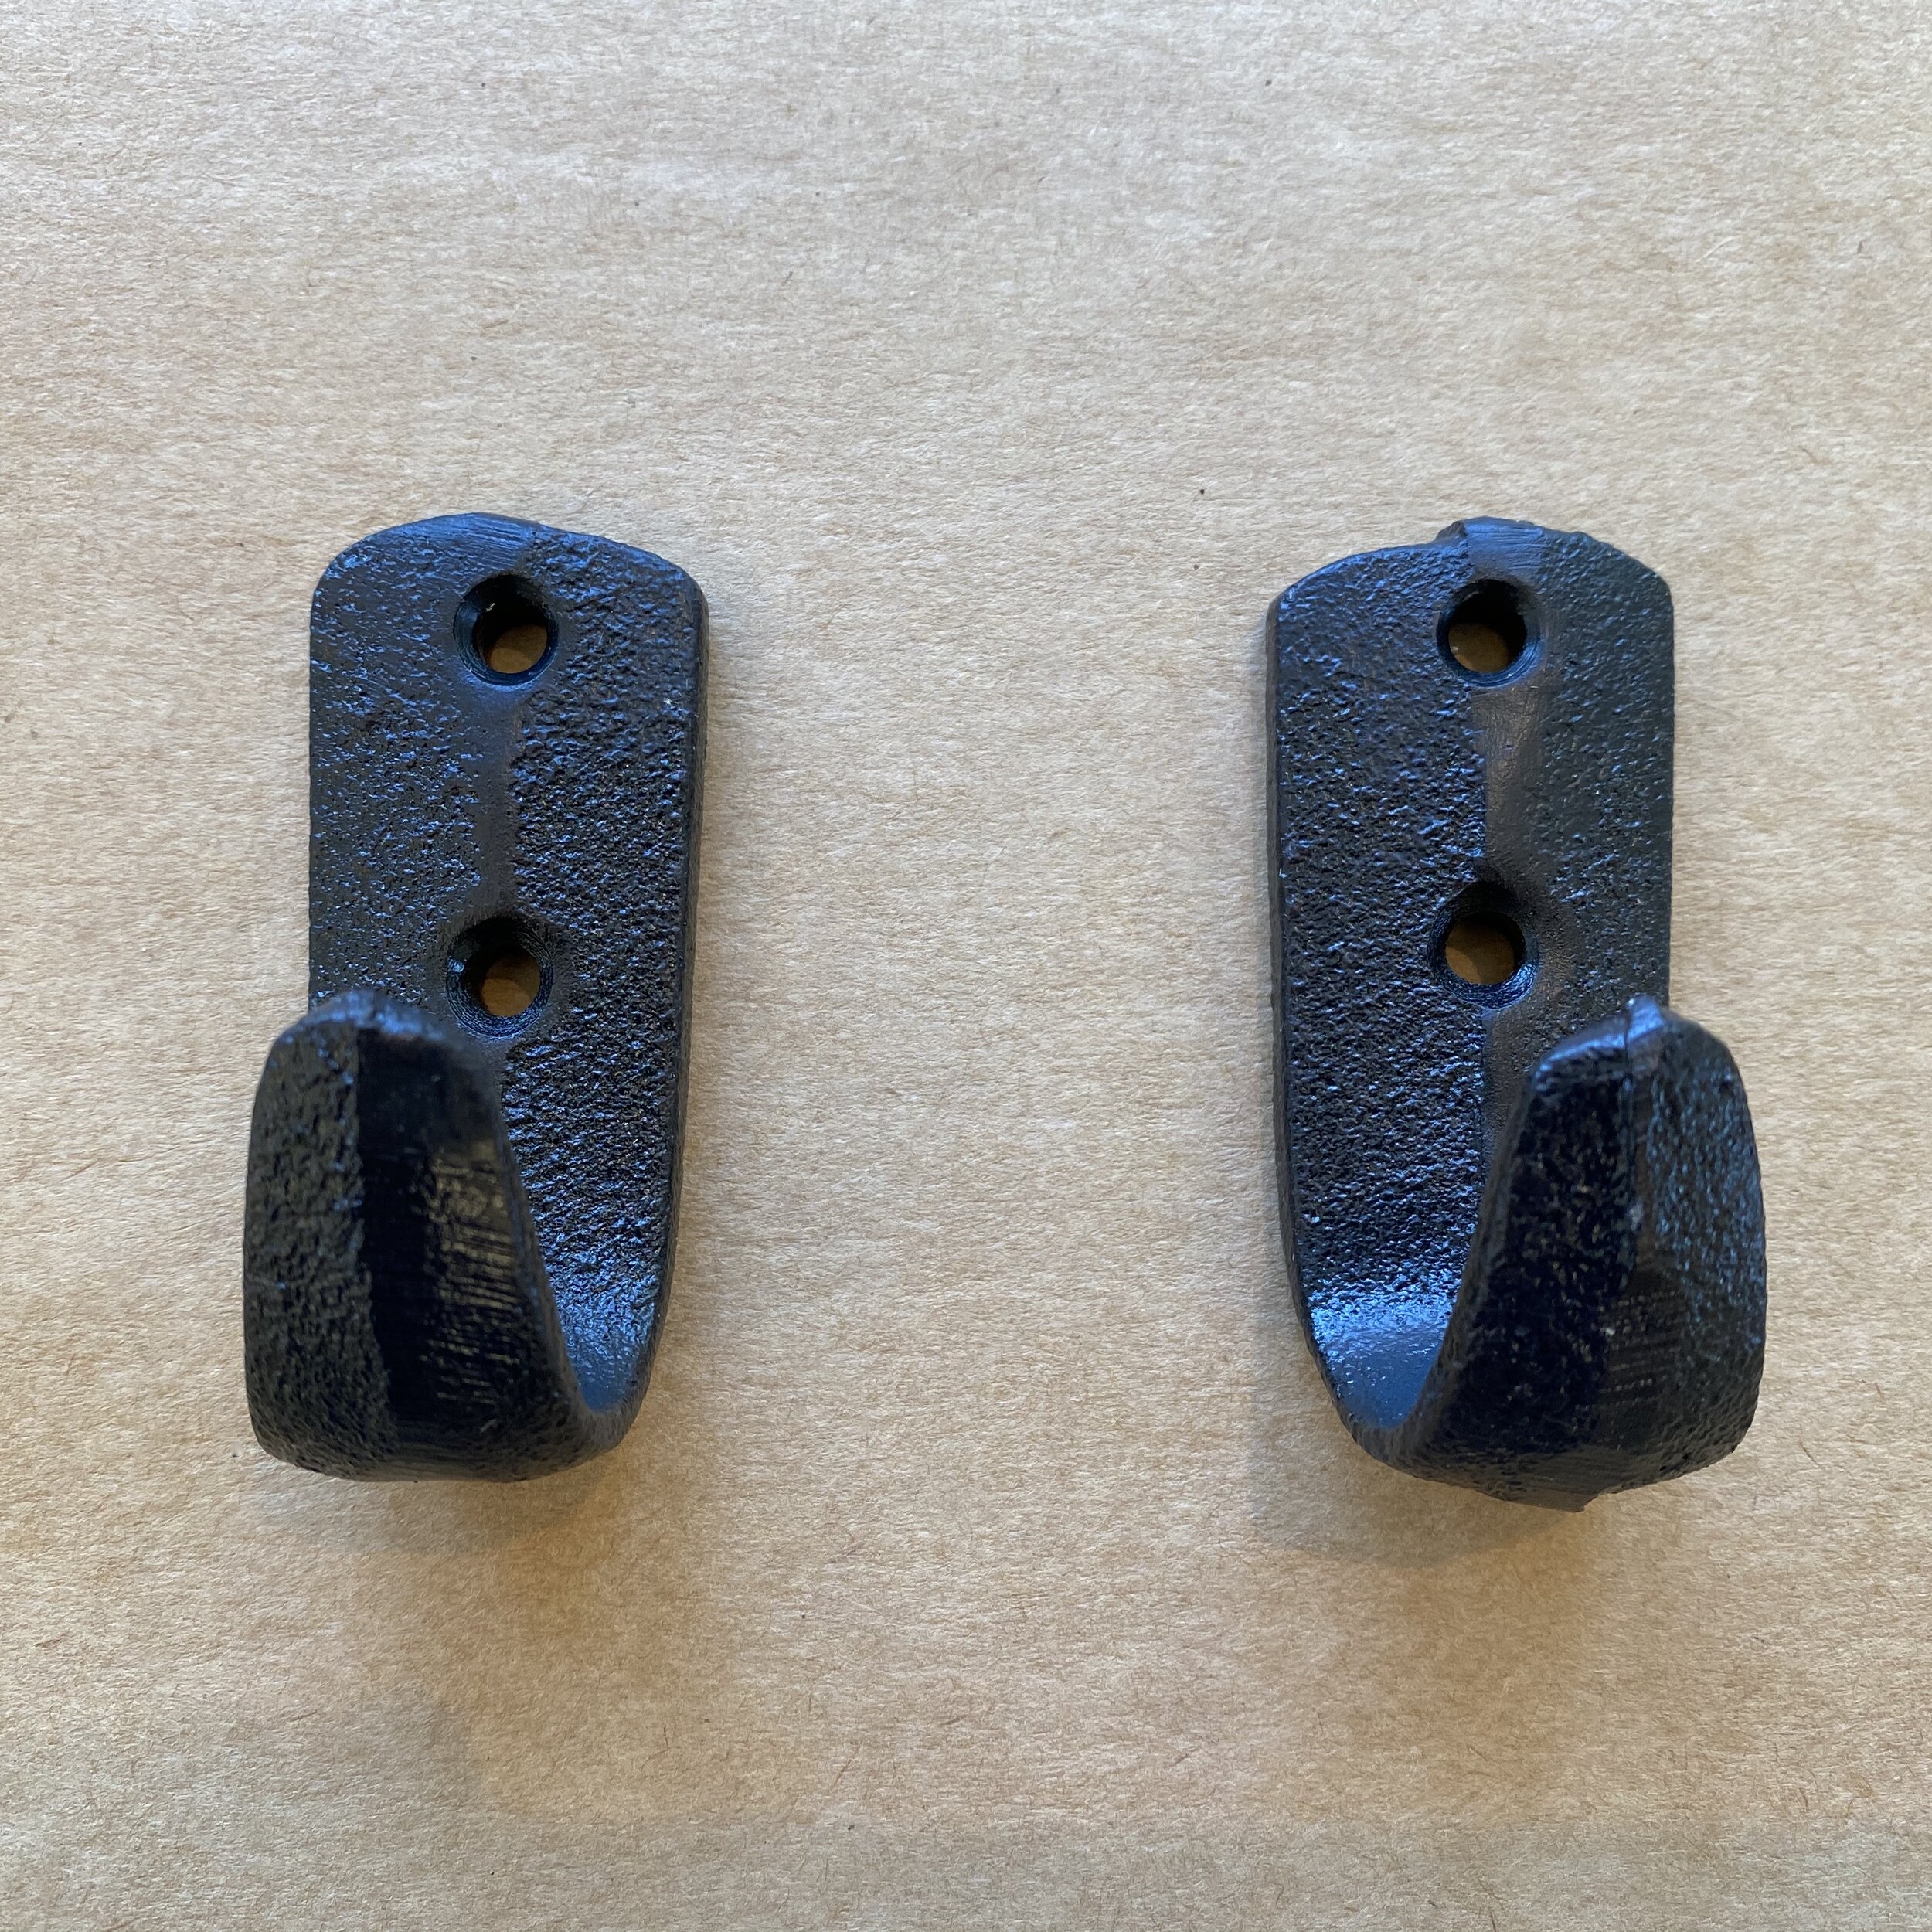

Cast Iron Garden Wall Hook
$12.00
We absolutely love these cast iron hooks for garden organization. They are perfect for hanging tools, gloves, and totes!
Sold as a set of two hooks.


Cast Iron Garden/Kitchen Scoop
$12.00
When we find a product that we love…we just have to share it with our customers! These cast iron scoops are wonderful in the garden and in the kitchen. Back in stock!
Black with twine loop.