“For me, becoming isn’t about arriving somewhere or achieving a certain aim. I see it instead as forward motion, a means of evolving, a way to reach continuously toward a better self. The journey doesn’t end.” ~ Michelle Obama
Good Morning,
Life has definitely been evolving lately. We are learning to live differently, work differently, shop differently, and socialize differently. I hope that we are also learning new habits and becoming better people. As time marches on...our passions, perspectives, interests, and dreams change and "stay at home" has pushed us all in new directions.
One thing that has changed at the Spofford Farm are our ideas about function and organization! We have never been more organized in our lives! We still have a long way to go...but we are in forward motion and as Michelle Obama says....it's a journey.
The latest organization project at the farm is the garden shed. It has evolved over time from a garden shed to a photography studio and now back to garden shed again. I'm sharing the makeover process with you today and I hope you find a few ideas you can use in your own garden space.
Garden Shed Makeover
The evolution of a garden shed...
I wrote a blog post several years ago about transforming half of the garden shed into a photo studio . It was an exciting time as I had just returned from my first photography workshop and was eager to set up a designated space for still life photography.
This is what the shed looked like after the first transformation. It served its purpose well (garden tools on one side and photo props on the other side) until we built a barn and moved the photography studio into that space.

Before

Before
Interior Makeover
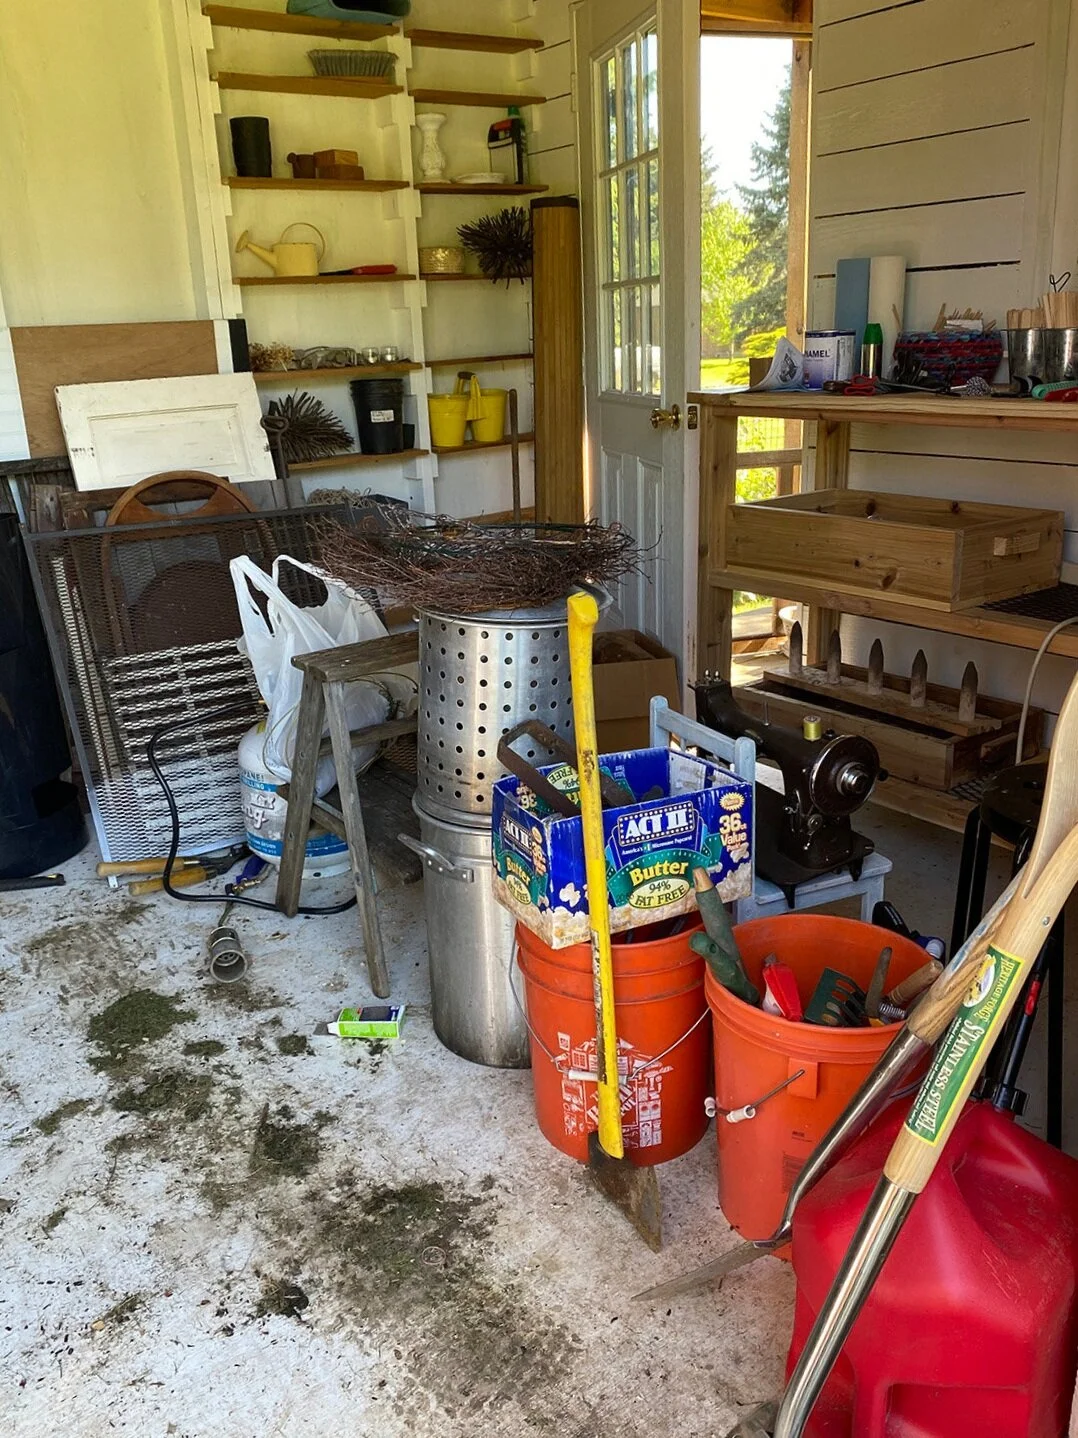
Before

Before
Time to reorganize the shed and make it more functional for the garden equipment and tools. The first big improvement...electricity! Exterior and interior plug-ins and light fixtures were installed.


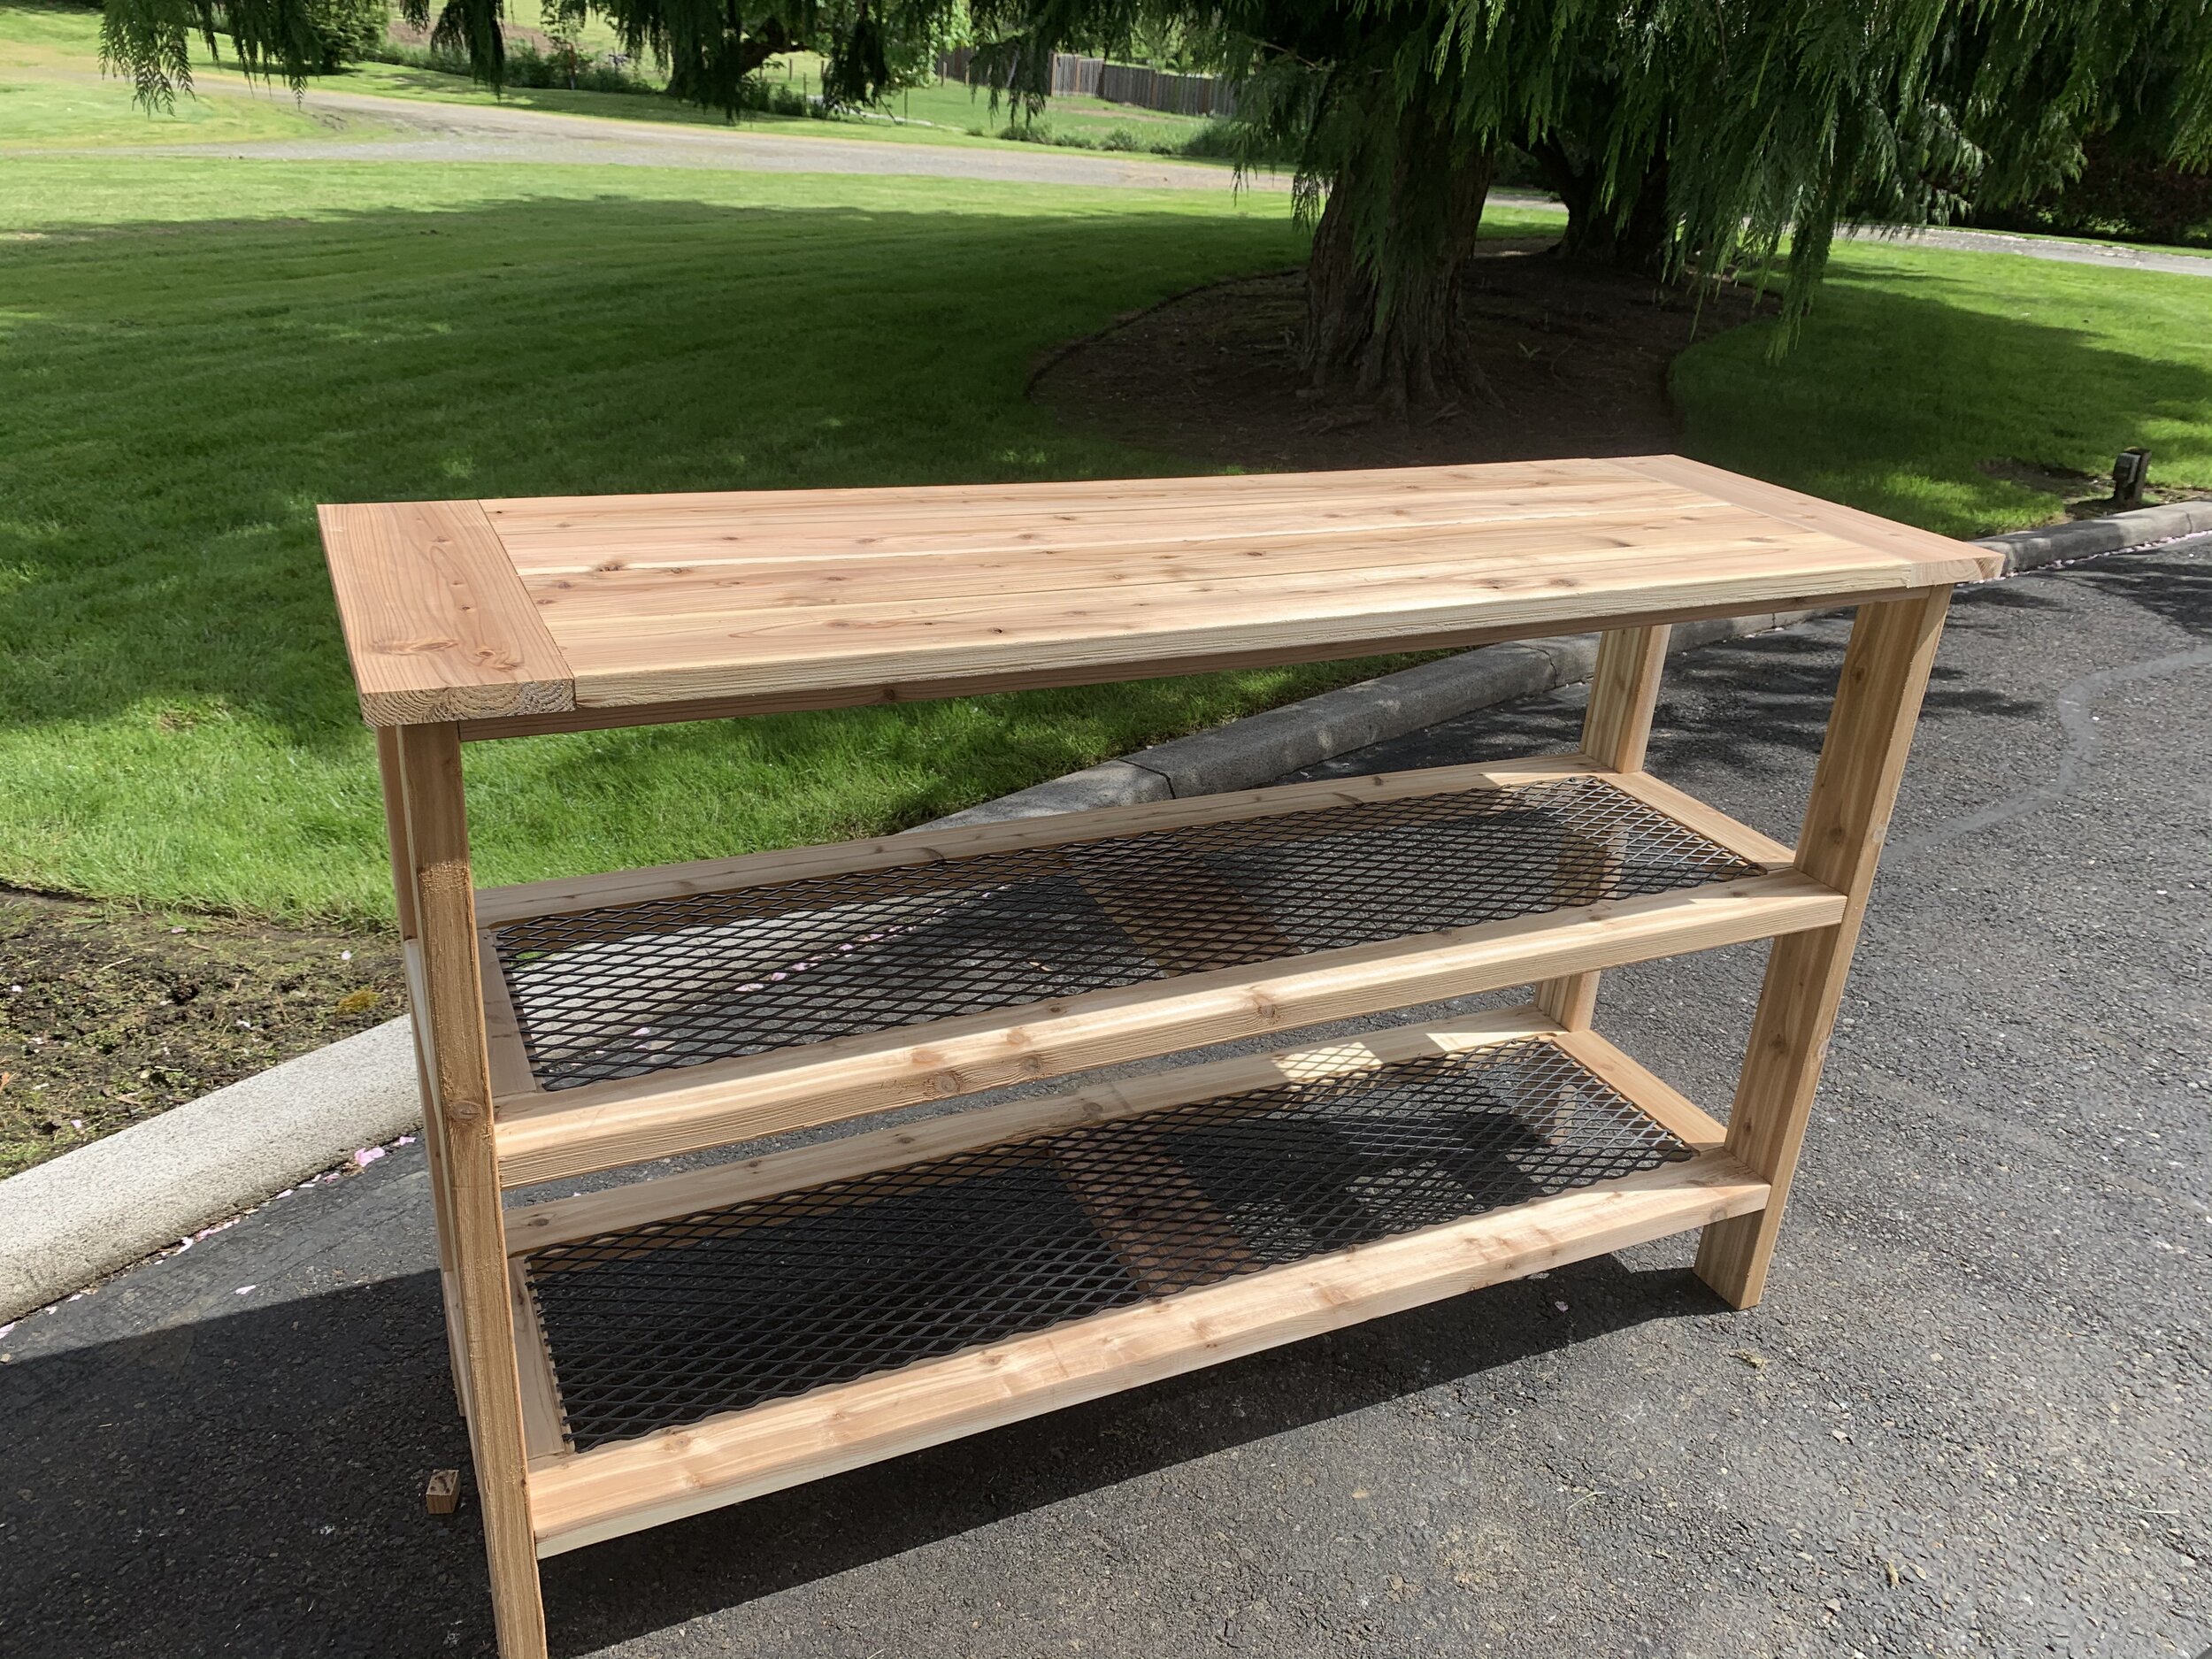
The second big improvement and truly the motivation behind the reorganization was a new potting bench! There were a few pieces of leftover lumber from our raised-bed garden project and my husband put it to good use.

This is the process we used to "repurpose" the shed.
Removed everything from the shed
Swept the floor (bugs and grass clippings really like to hang out in this space)
Grouped similar items together to determine space requirements
Prioritized equipment needing regular access and gave them high priority space. (Lawn mower, potting bench, weed eater, shovels, racks, small gardening tools)
Discarded or gave away items we no longer needed
Moved items back into the shed making sure everything had a designated place.

Three shelves were removed from the wall to make hanging space for small gardening tools.

The tools were grouped together in a knolling manor and hung with screws. The screws can be taken out and rearranged as storage requirements change.

A wood stake was cut into 3 inch blocks and the bandsaw was used to make small slits in the top of each block. These blocks hold extra twine for tangle free storage.

Garden containers hold small items making them easily accessable. #usewhatyouhave!

The urn shown here also functions as a door stop!

Extra seeds and flower arranging items are stored in small galvanized buckets.

Shovels, racks, ladders, and other long handled tools are hung on a board with PVC pipe hooks. Plastic elbows were glued to the end of the pipe to keep tools in place.

Every bit of wall space was used to store and organize tools. This freed up valuable floor space and made things easy to find at a glance!

Yard games, extra hose, drip irrigation parts, and sprinklers were placed in see- through tubs. The tubs stack and confine hard to manage items. In the future the walls will get a fresh coat of white paint.
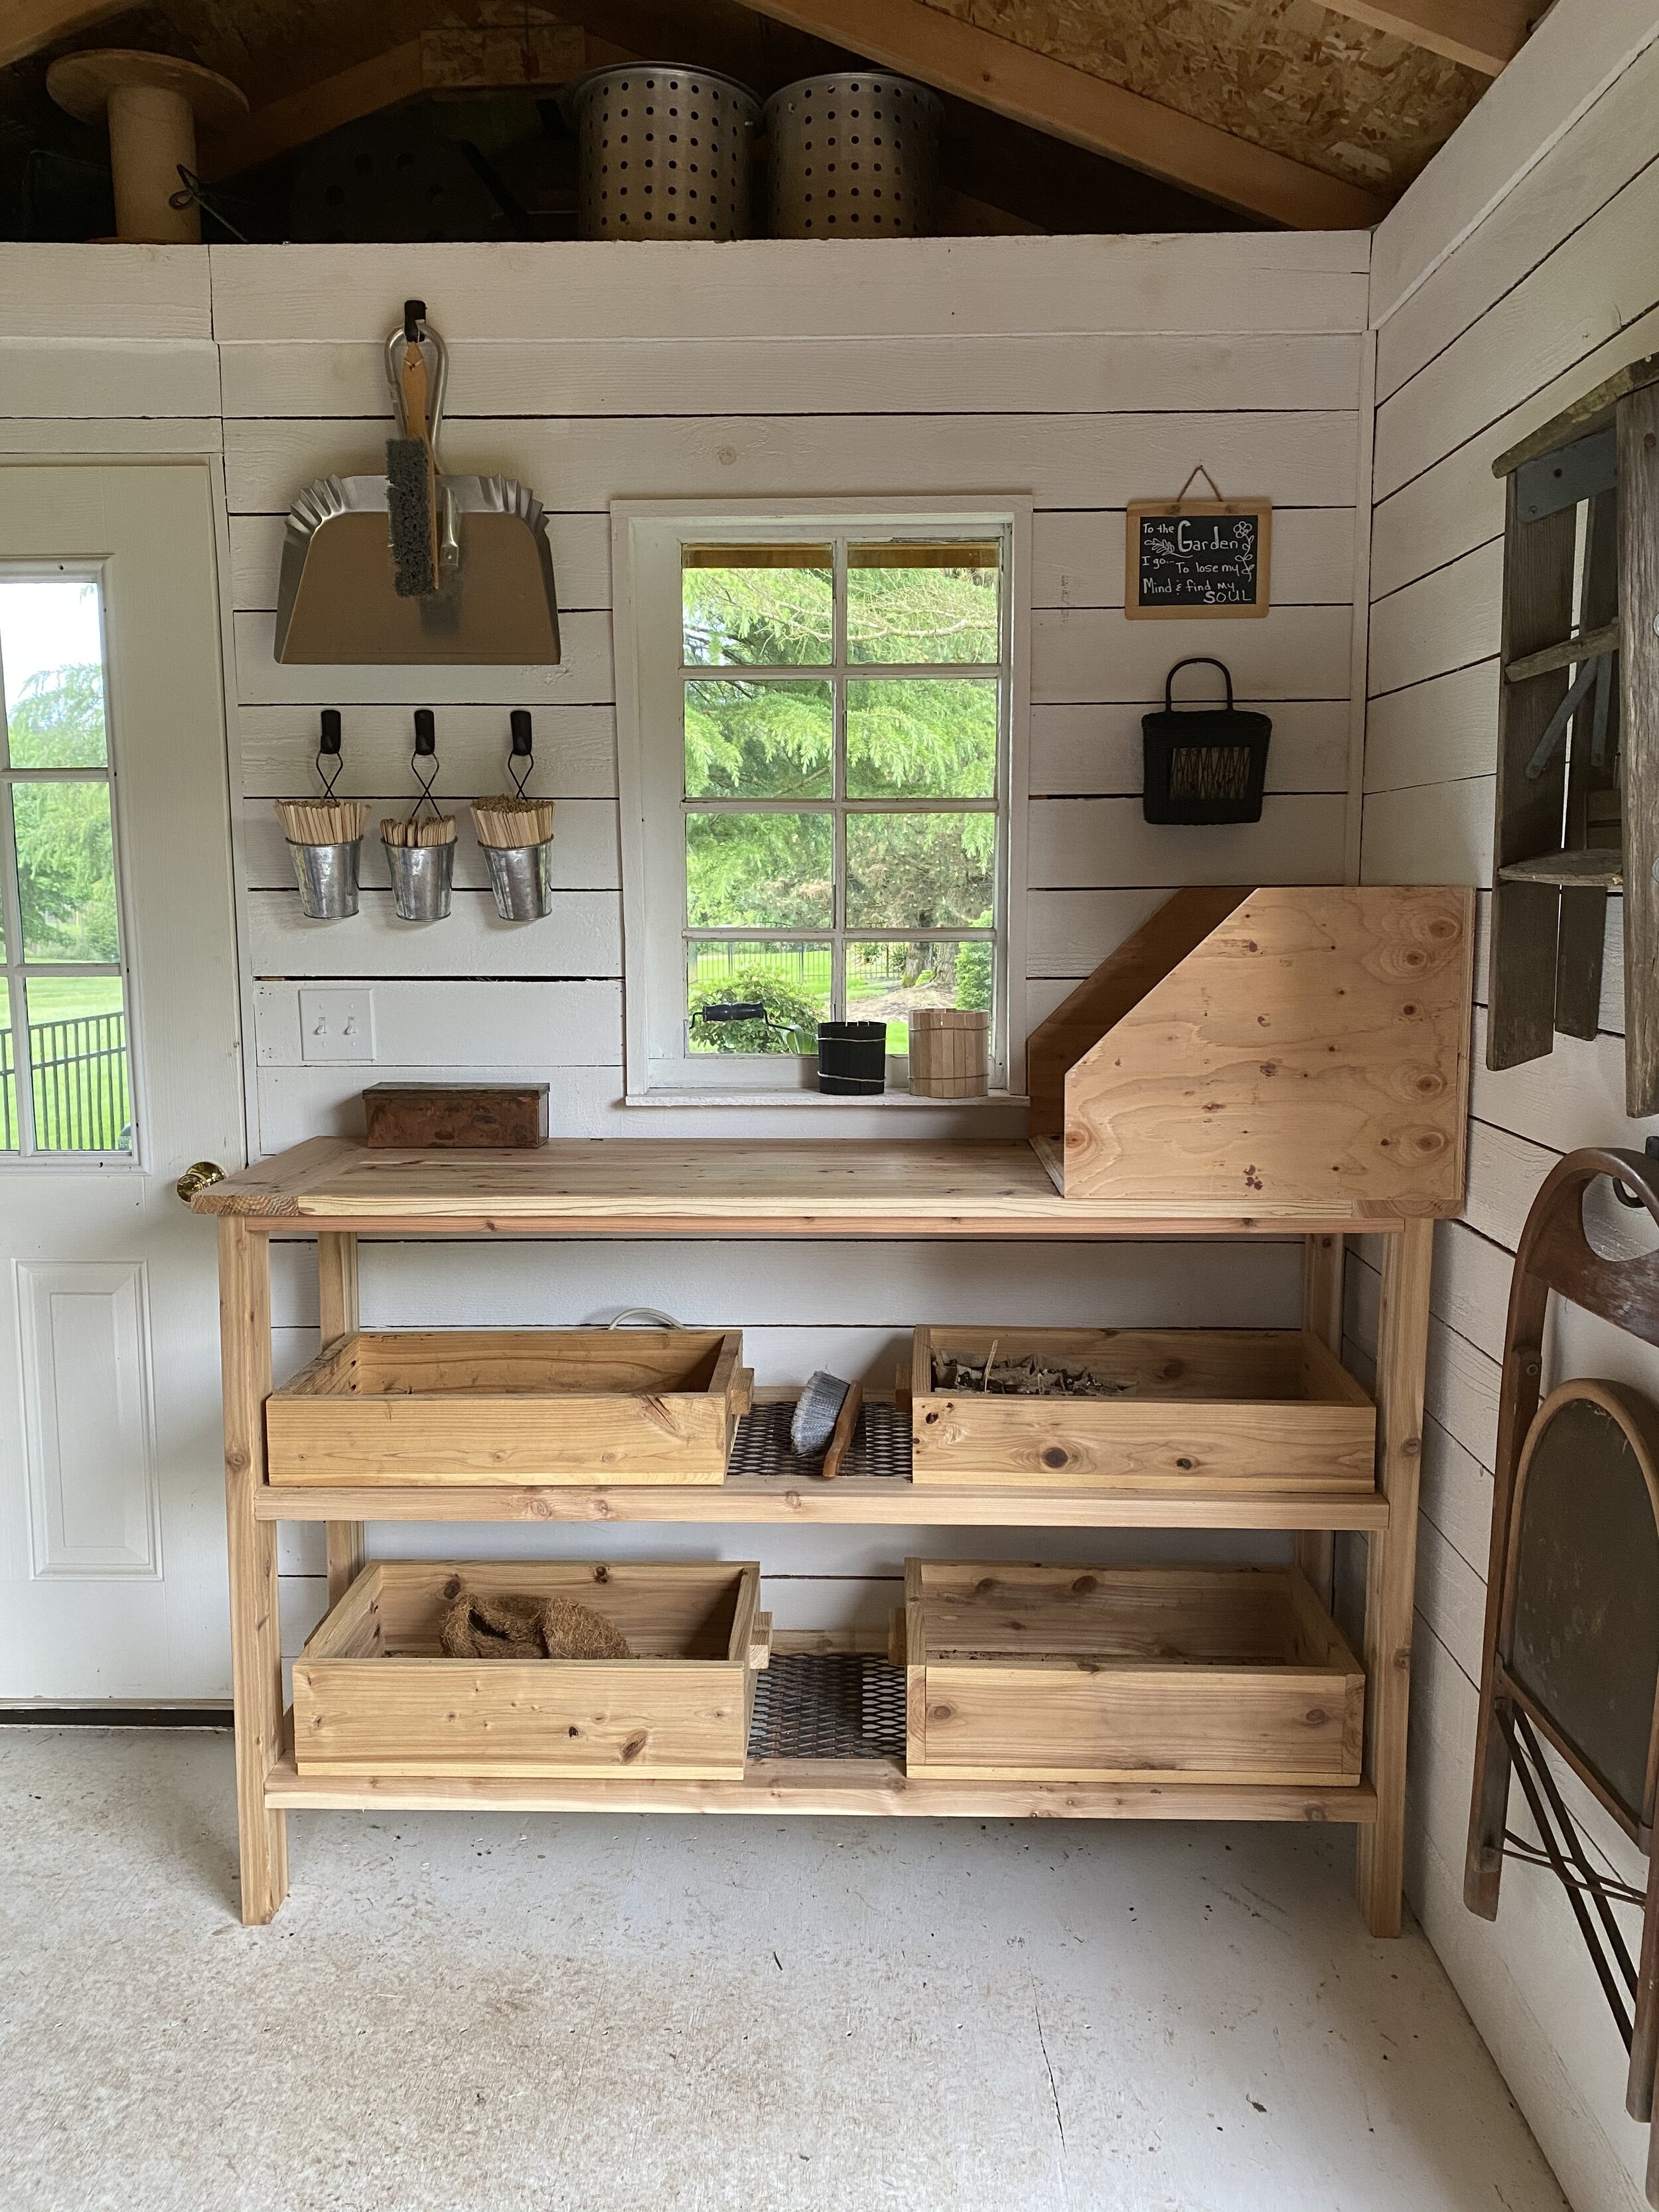
Wood planting boxes are stored on the bench shelves. Grow-lights will be installed above the boxes in the Fall for indoor propagation.
Waterproof pens, wire cutters, and garden clippers are stored on the bench in a copper box.

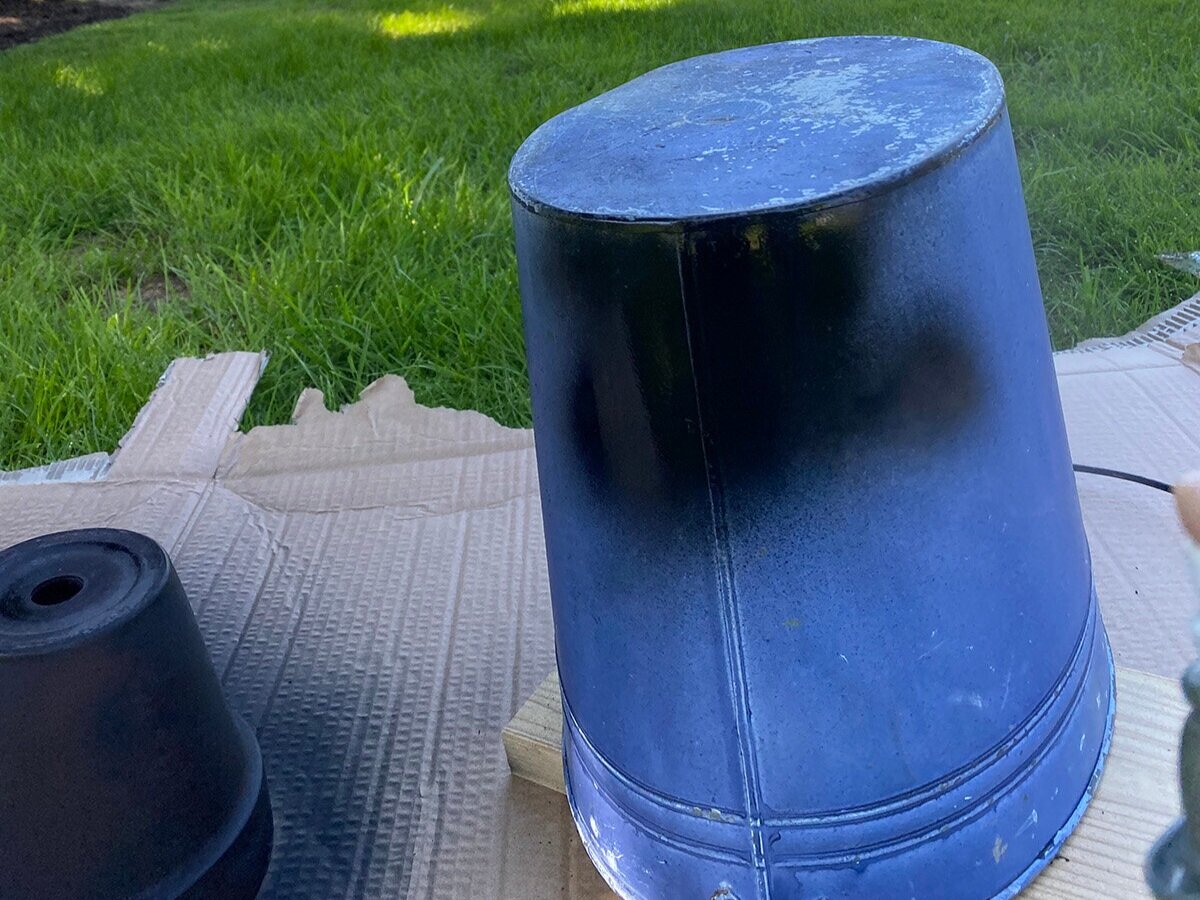
Buckets of plant markers, a small hand broom and dust bin, and a basket for extra seeds hang over the potting bench.

The seed basket was given a re-fresh with black spray paint.

Every potting bench should have a dirt bin! Right?!

And and space for the traveling gardening box.

Interior evolution complete!
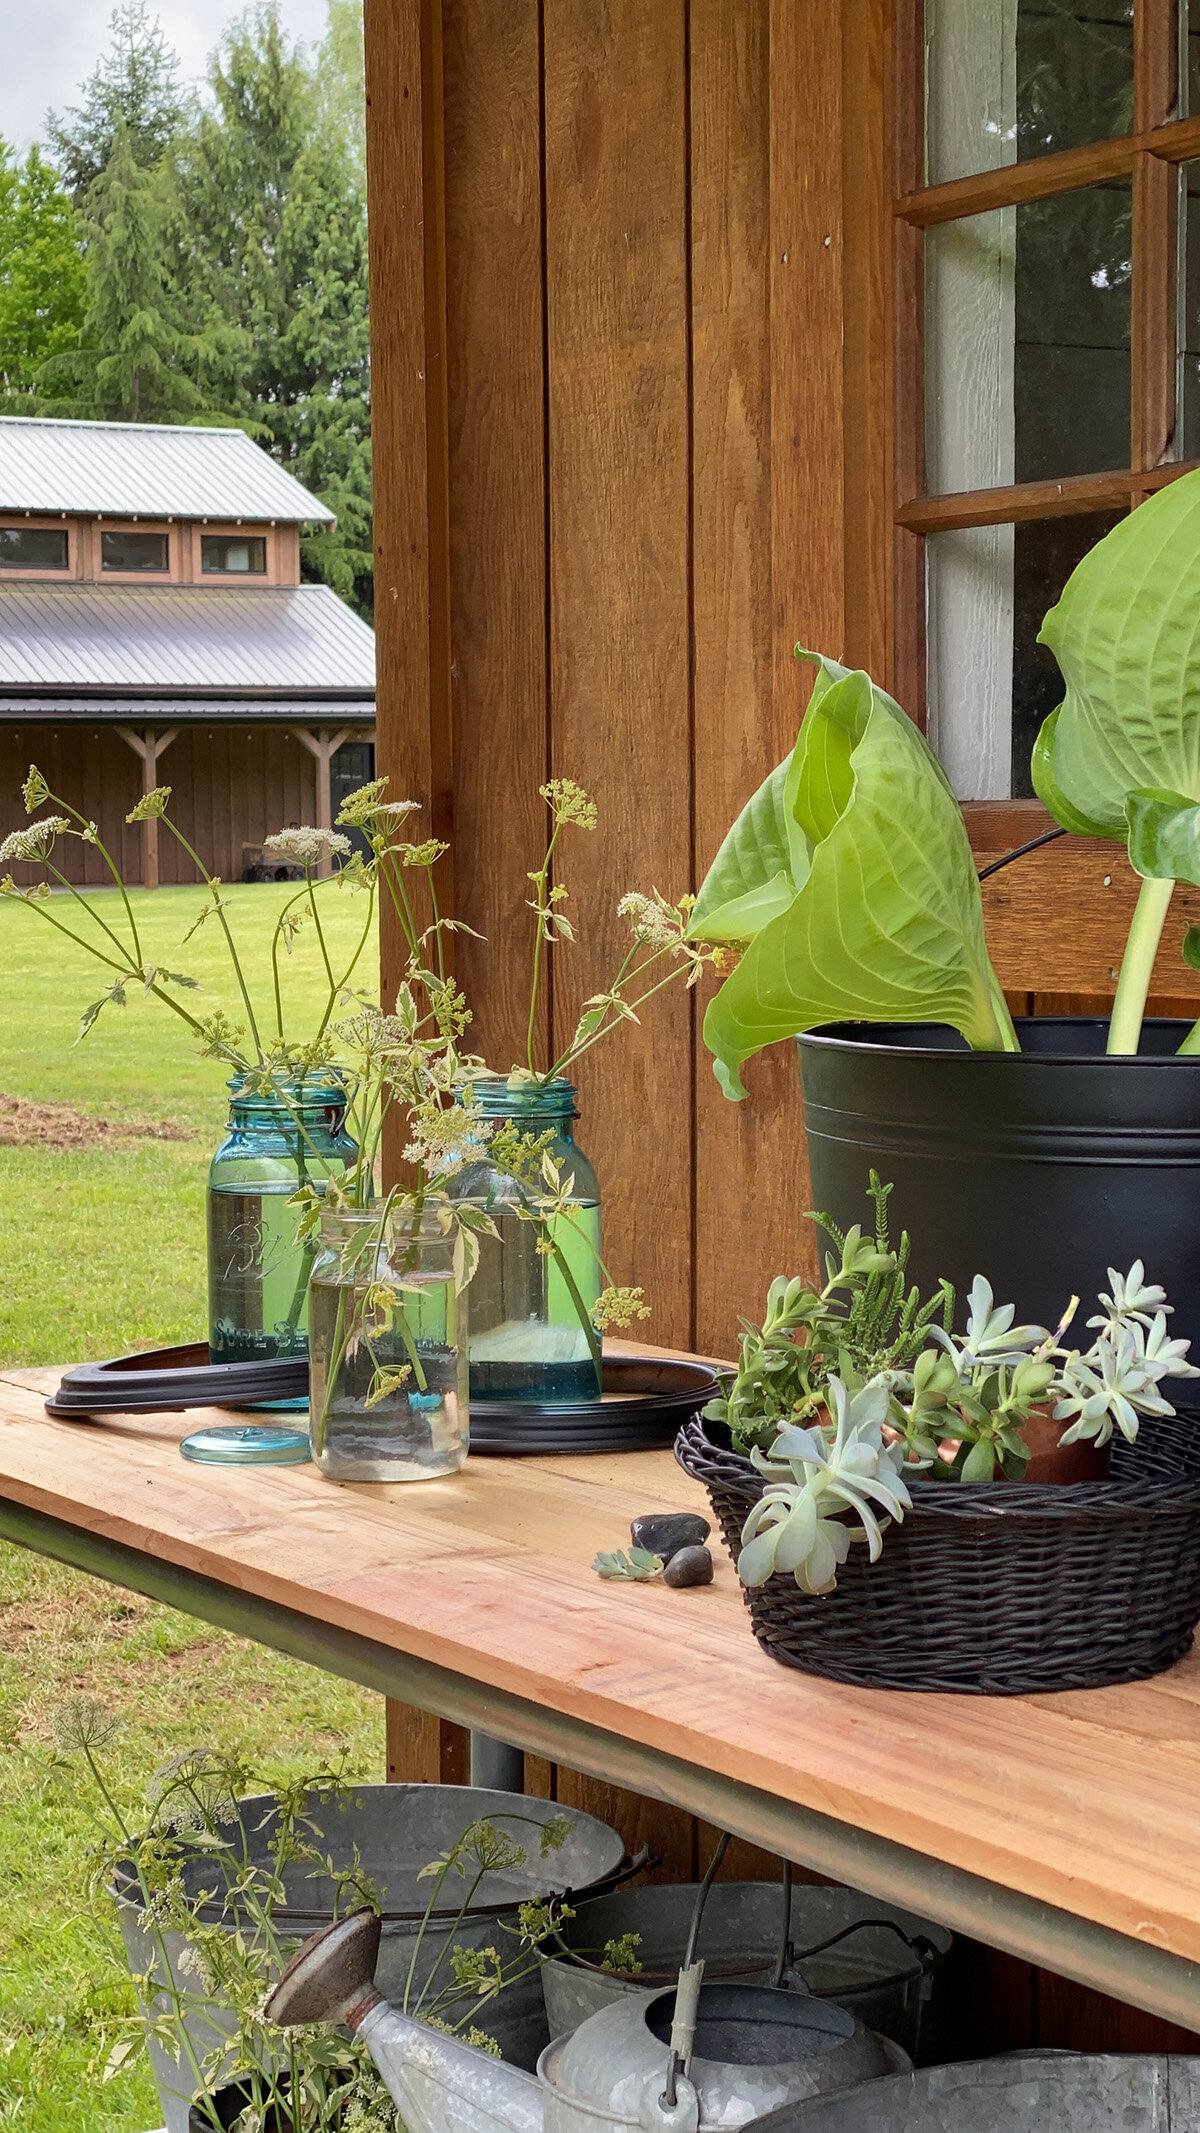
Exterior Makeover
The shed door was painted black to match the exterior elements of the barn.

Before Paint

After Paint

If you have been following Made on 23rd for a while you know that my favorite decorating tool is a can of matte black spray paint. I wanted to accentuate the door color with a few porch accessories so I rounded up several items from our garden and prop stash and painted them black.

Helpful Tip: Paint the bottom of your items first and then turn them over and paint the top and inside edges.

Leave rustic details if they fit your esthetic. I like the contrast of the crisp solid black bucket and chippy look on the handle.
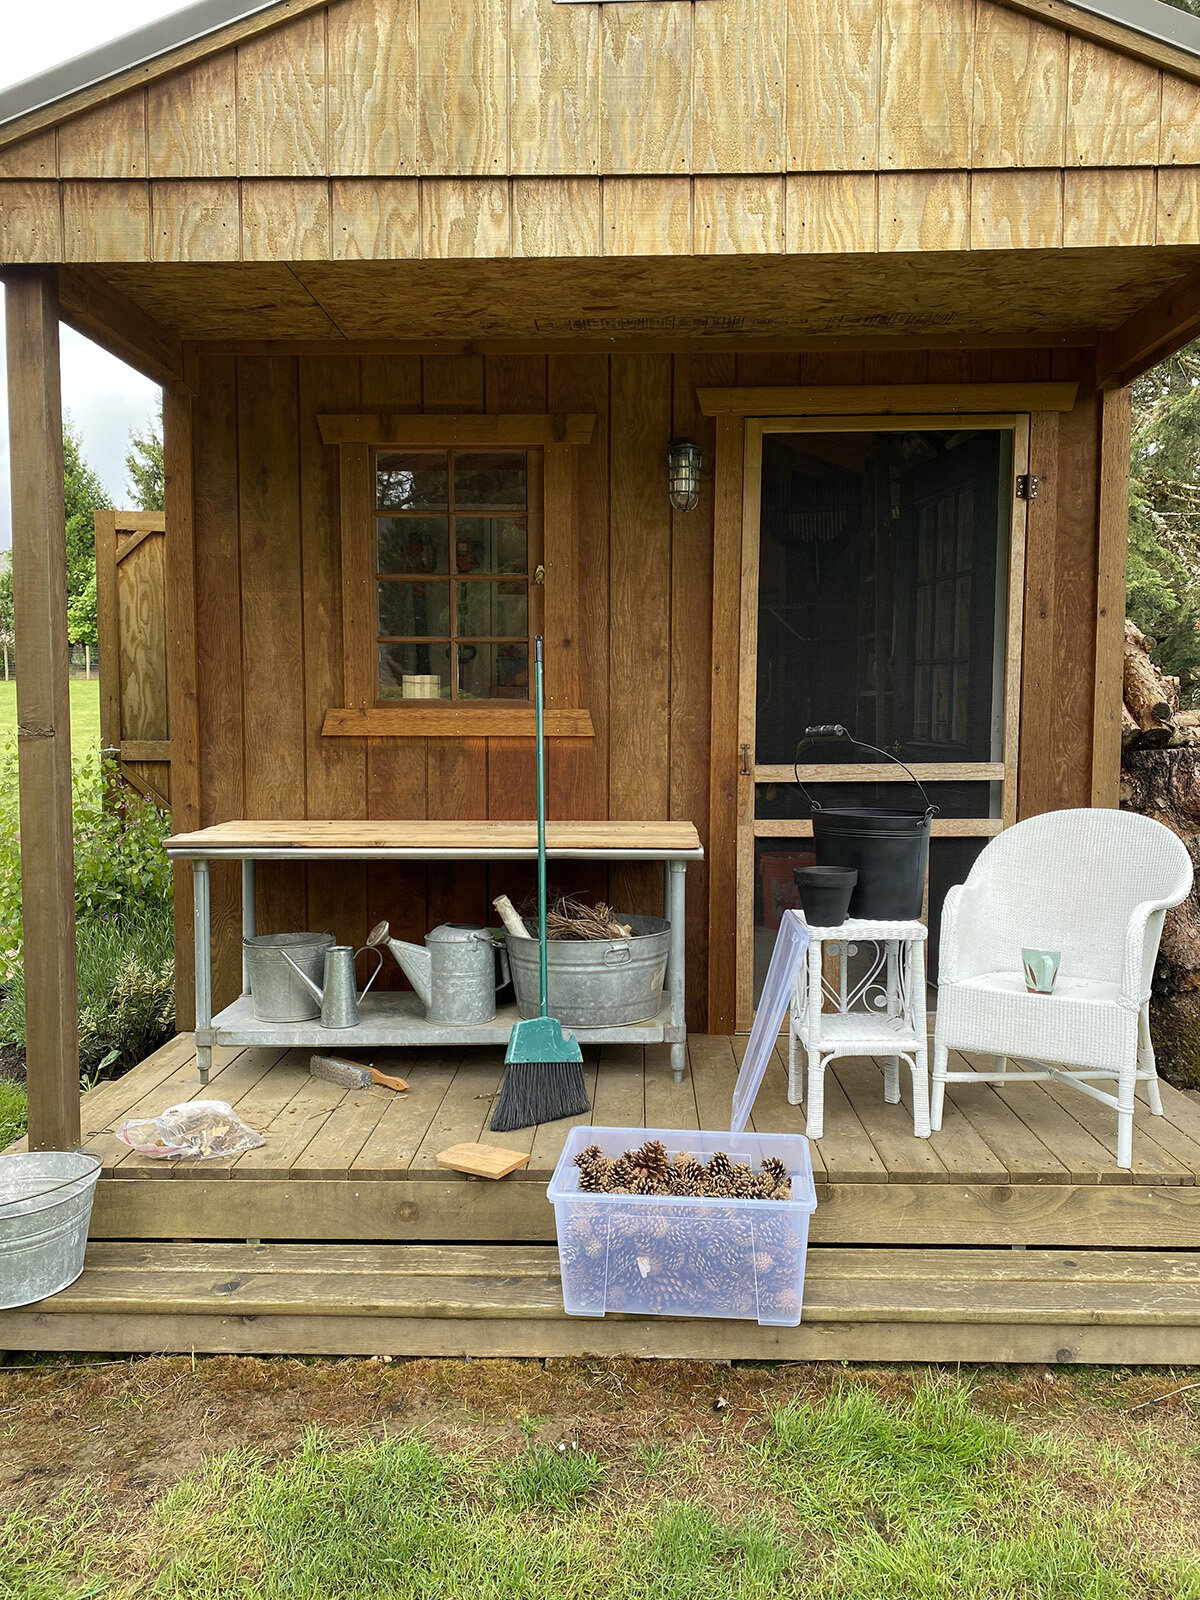
While the paint was drying, everything was removed from the porch. Pinecones and other winter decorations were placed in a tub and stored in the barn.

A new light was selected to match the barn and was installed on the porch. We are becoming expert zero contact shoppers at Home Depot and Amazon.

The main accessories were styled to draw your eye from the door to the table and down to the shelf. This was achieved by color repetition. Different sizes, shapes, and textures where choosen to add interest.

Fresh flowers were cut and styled in the bucket and jars.

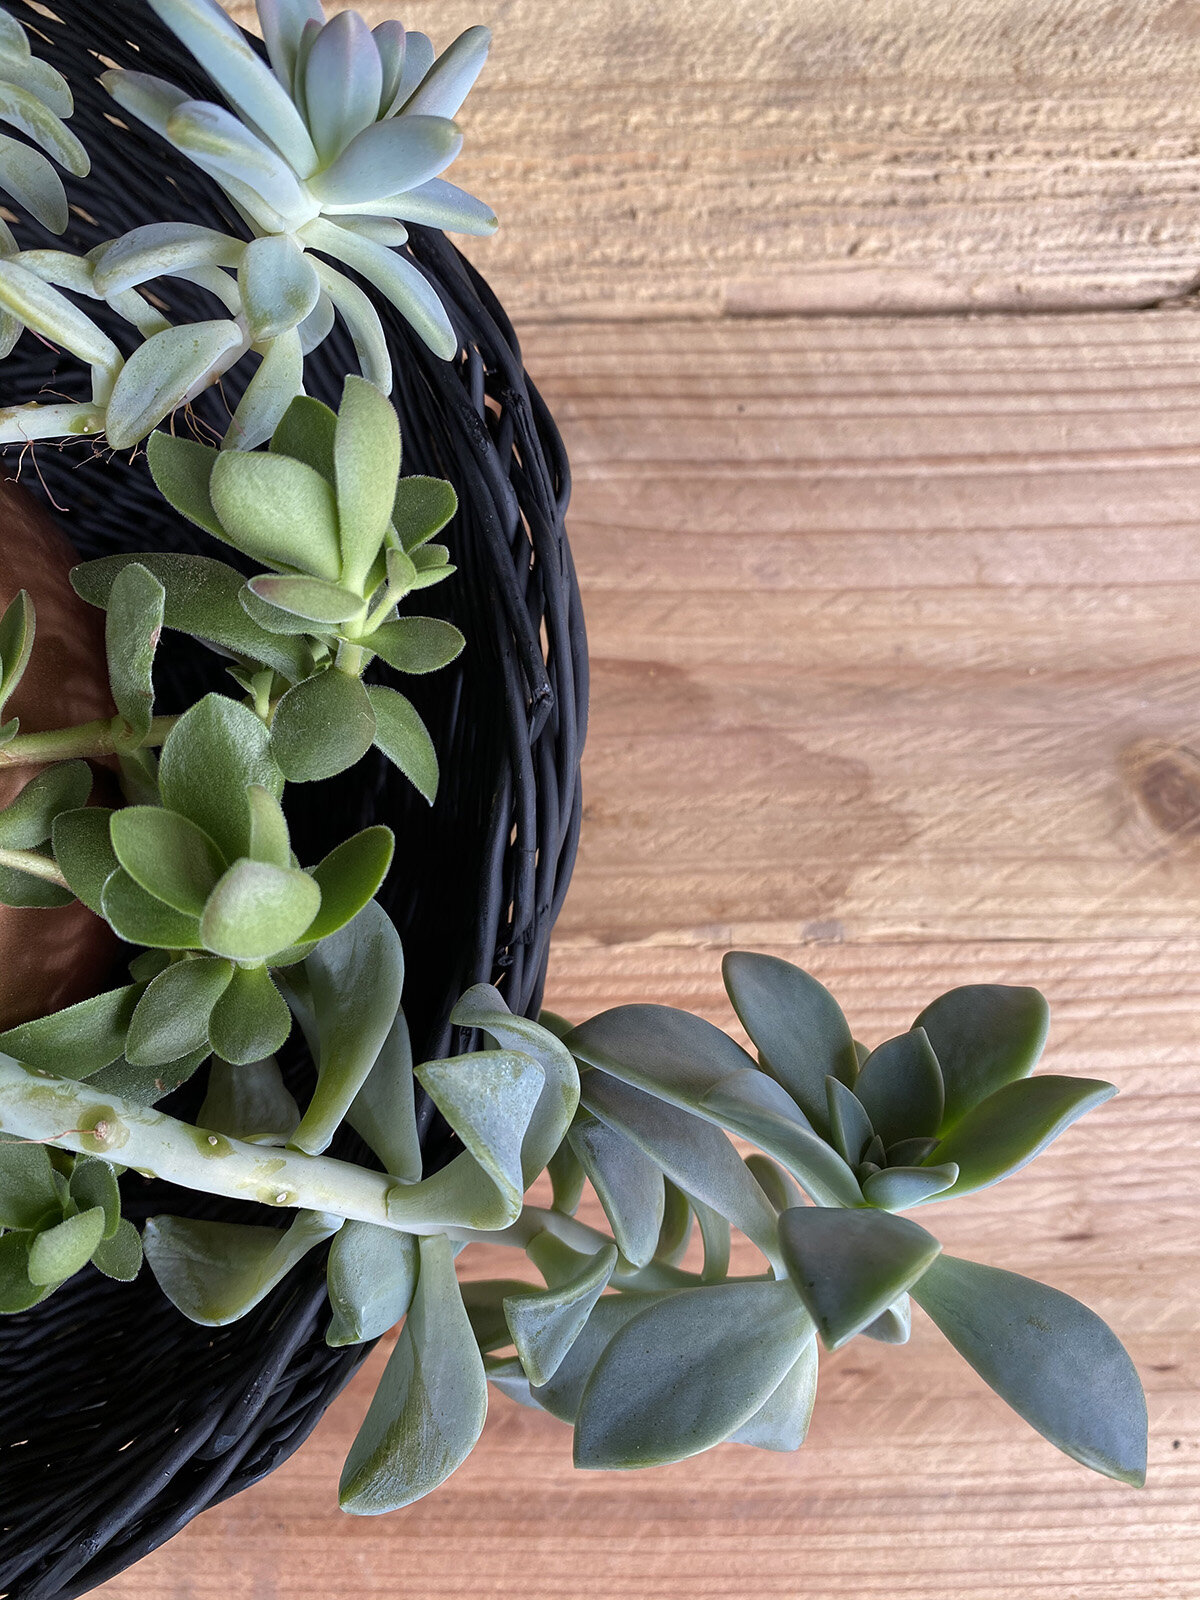
Succulents were arranged in the basket.


The chair and table were placed on the porch and a pillow was added to soften the white wicker.


The round frames were found at a thrift store (pre-covid 19) and repurposed.


Exterior transformation complete! I hope to invite you for coffee soon!
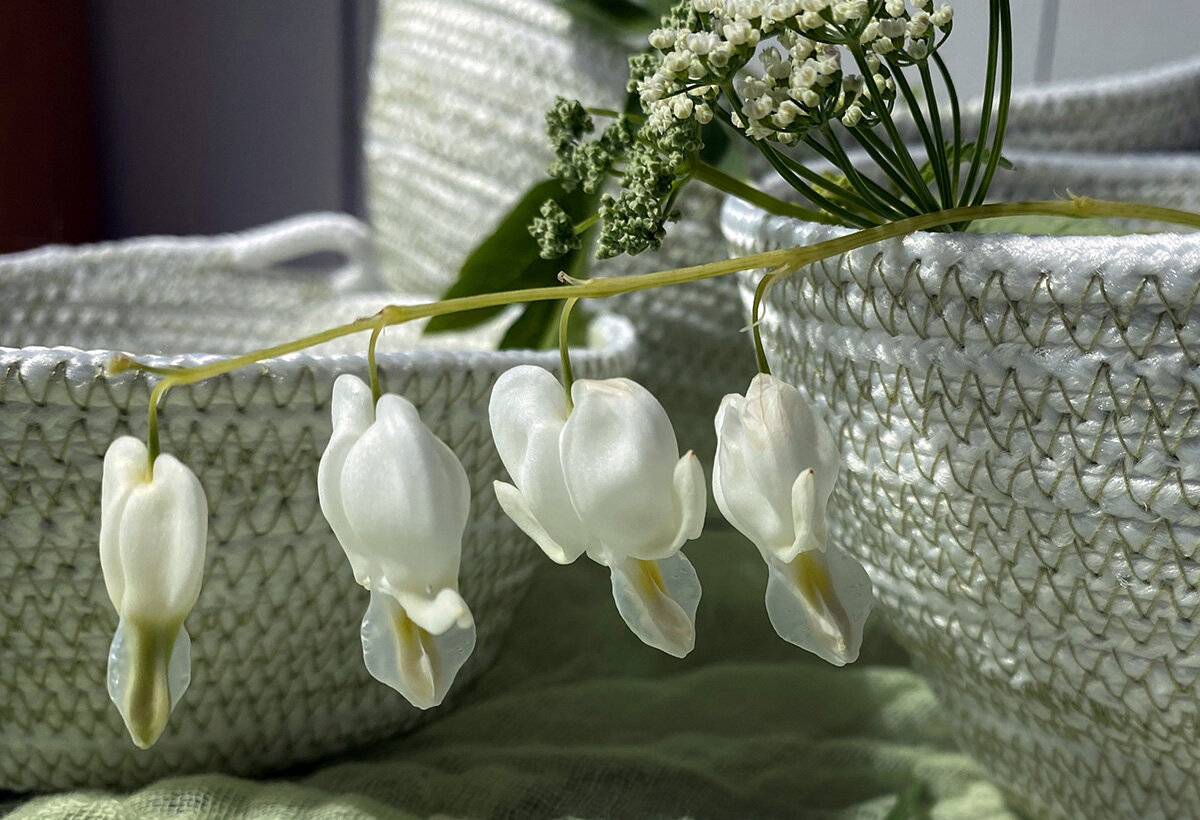
In the Garden
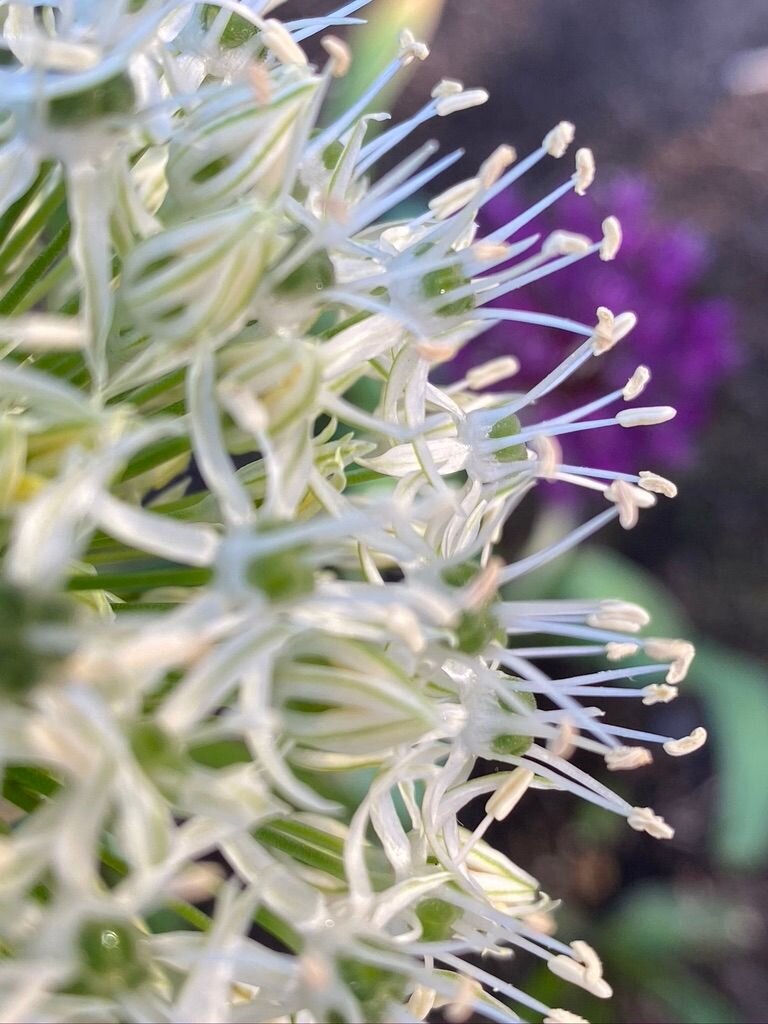
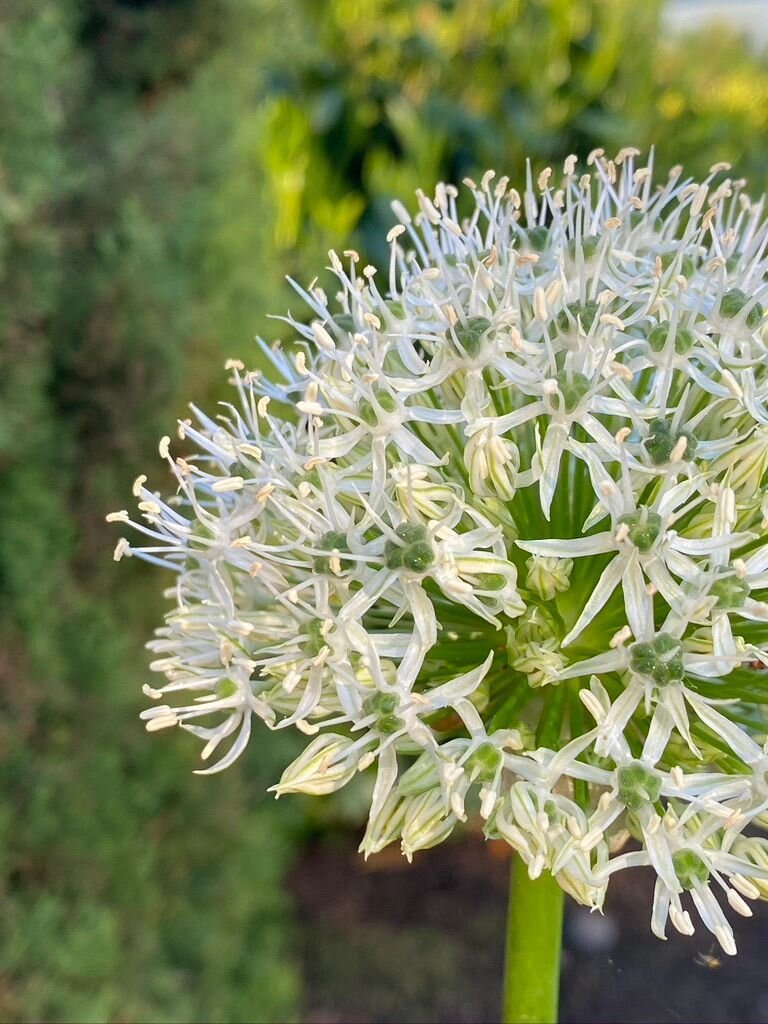
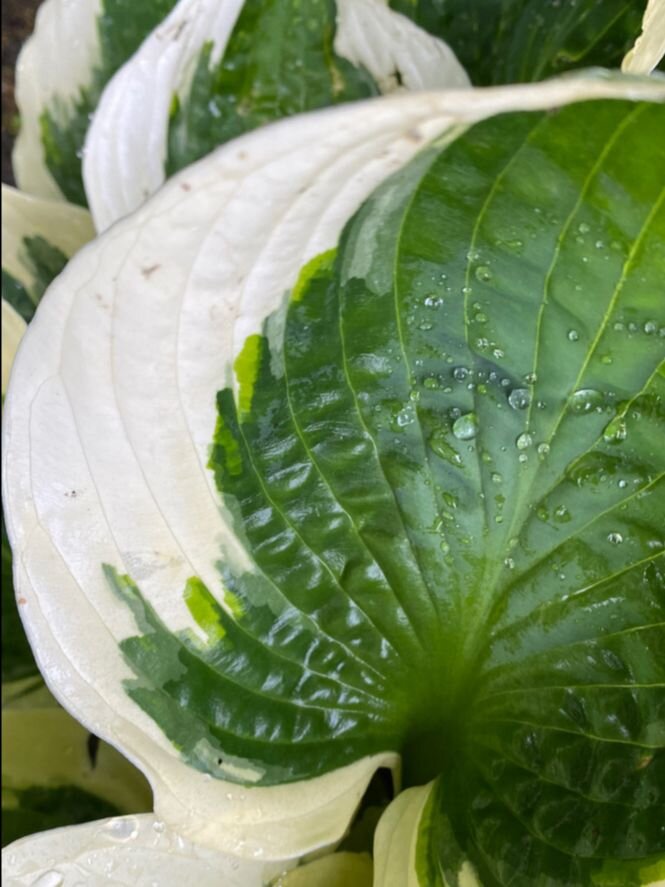
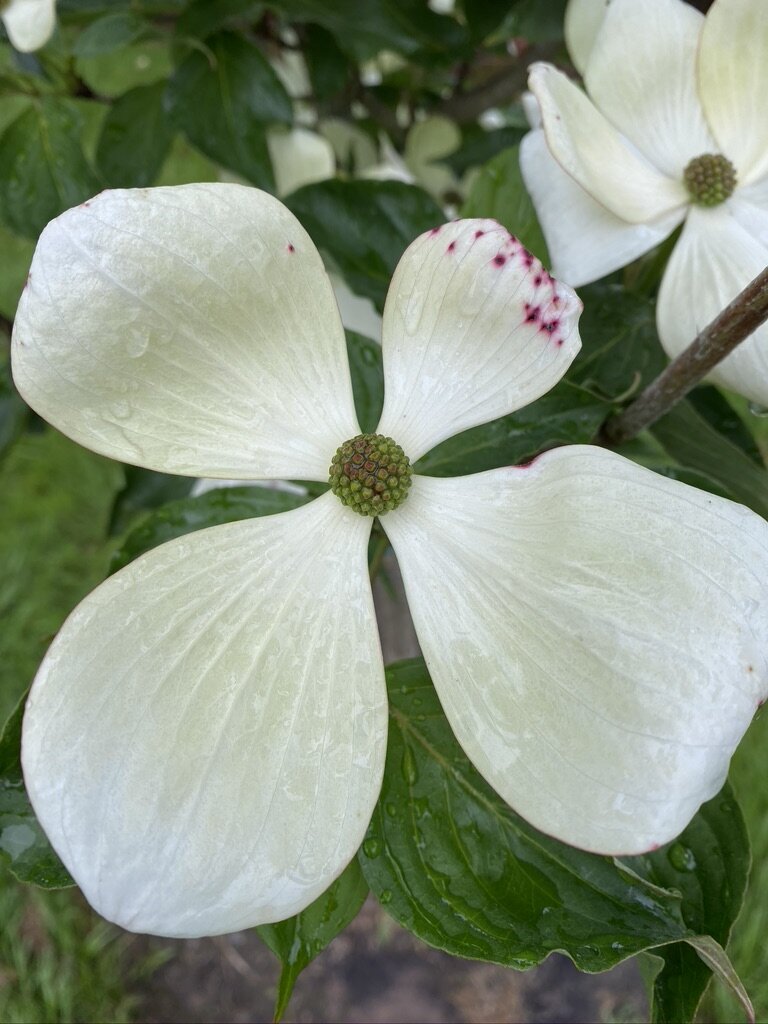
Pops of green and white are in the garden this week.
DIY Planter

I ordered a very large box of craft sticks for garden labels....and...they inspired this DIY planter project!

What you need:
Craft sticks
Hot glue gun and glue sticks
Vessel (clay pot, metal vase, plastic flower pot)
Wood circle the size of the opening of your vessel (Note: You could also use a jar lid or a piece of heavy cardboard.
Twine
Pen
Paper
Ruler or tape measure
Scissors
Wood saw
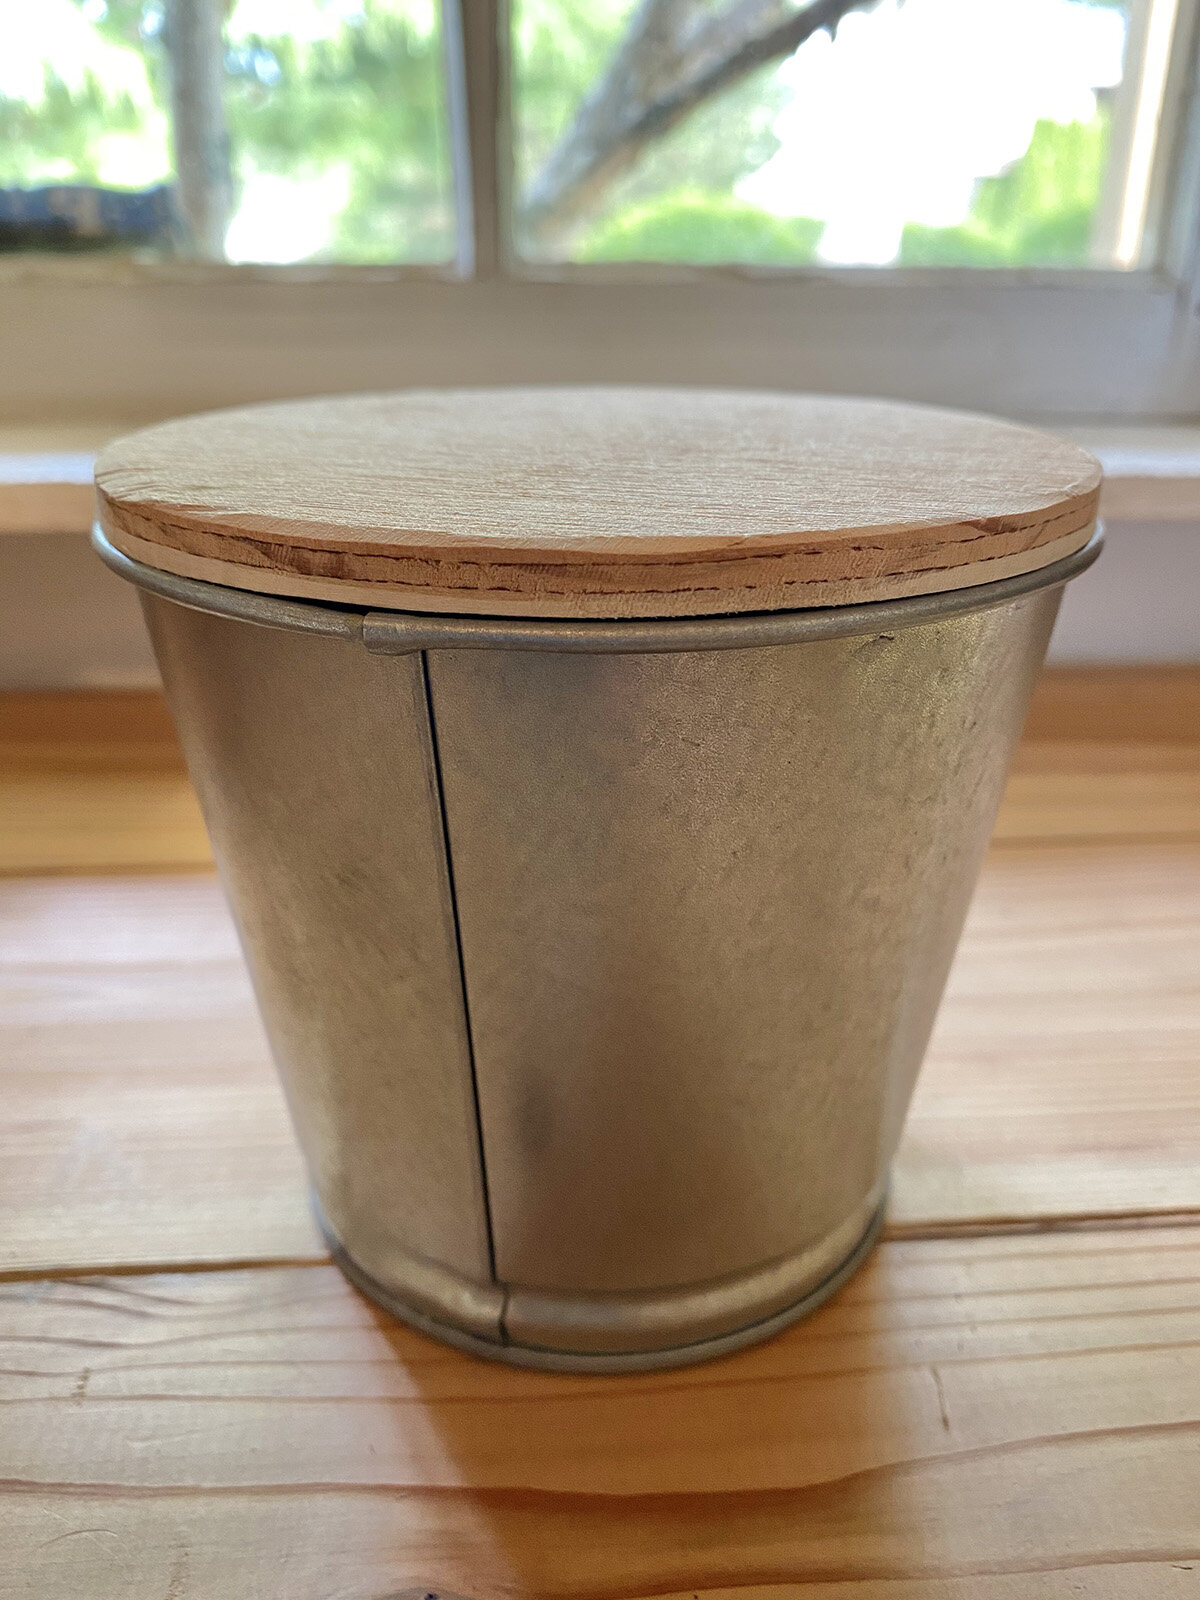
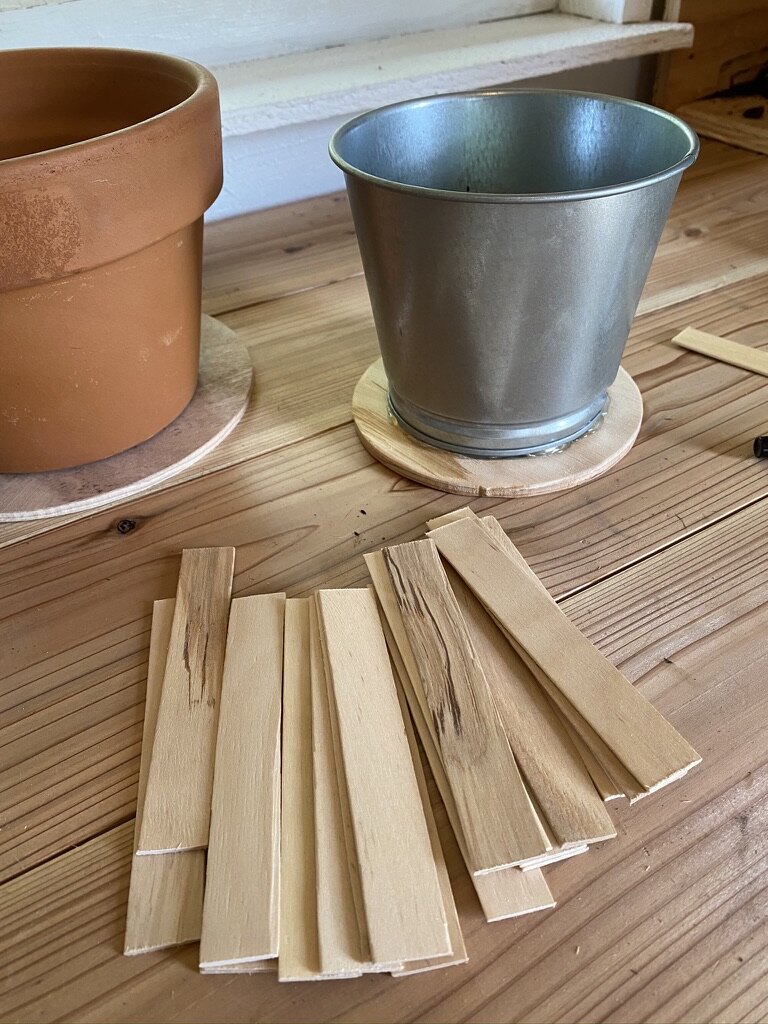
1) Turn your vessel upside down on a piece of paper and trace around the edge.
2) Cut out the circle and use it for a pattern to draw on your wood. Cut out the wood circle.
3) Glue the wood circle to the bottom of the vessel. Note: if you choose a vessel with straight sides you will not need a circle.

4) Measure from the bottom of the wood circle to the top edge of your vessel and add 1 inch. Cut about 20 craft sticks to that length making sure the curved edges are removed.
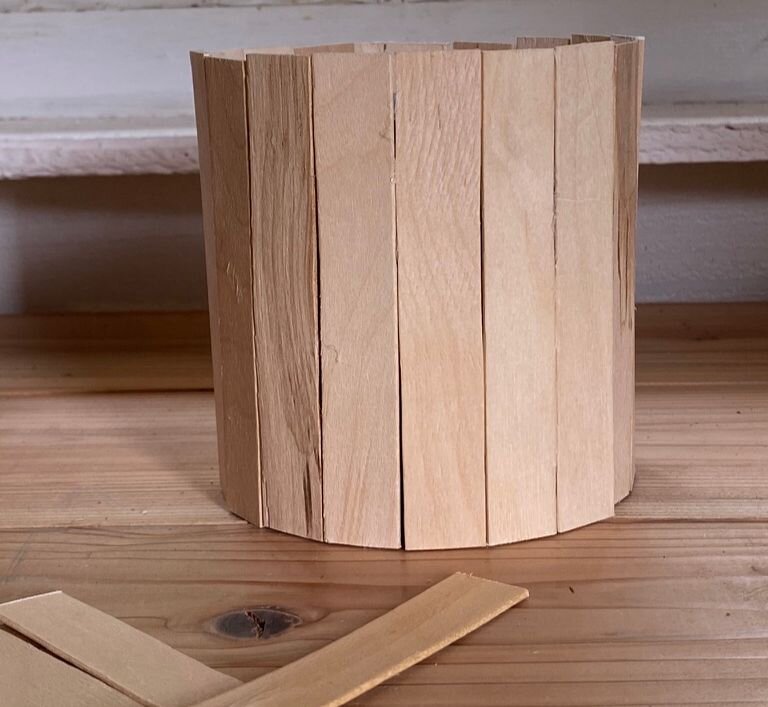

5) Glue craft sticks around the edge of the vessel.

If the spacing does not match exactly, overlap the last stick.

6) Tie a twine string around the top and bottom of the planter.

Note: For a different look...you can paint the planter before adding the twine.

7) Fill planters with fresh flowers or dirt and plants.
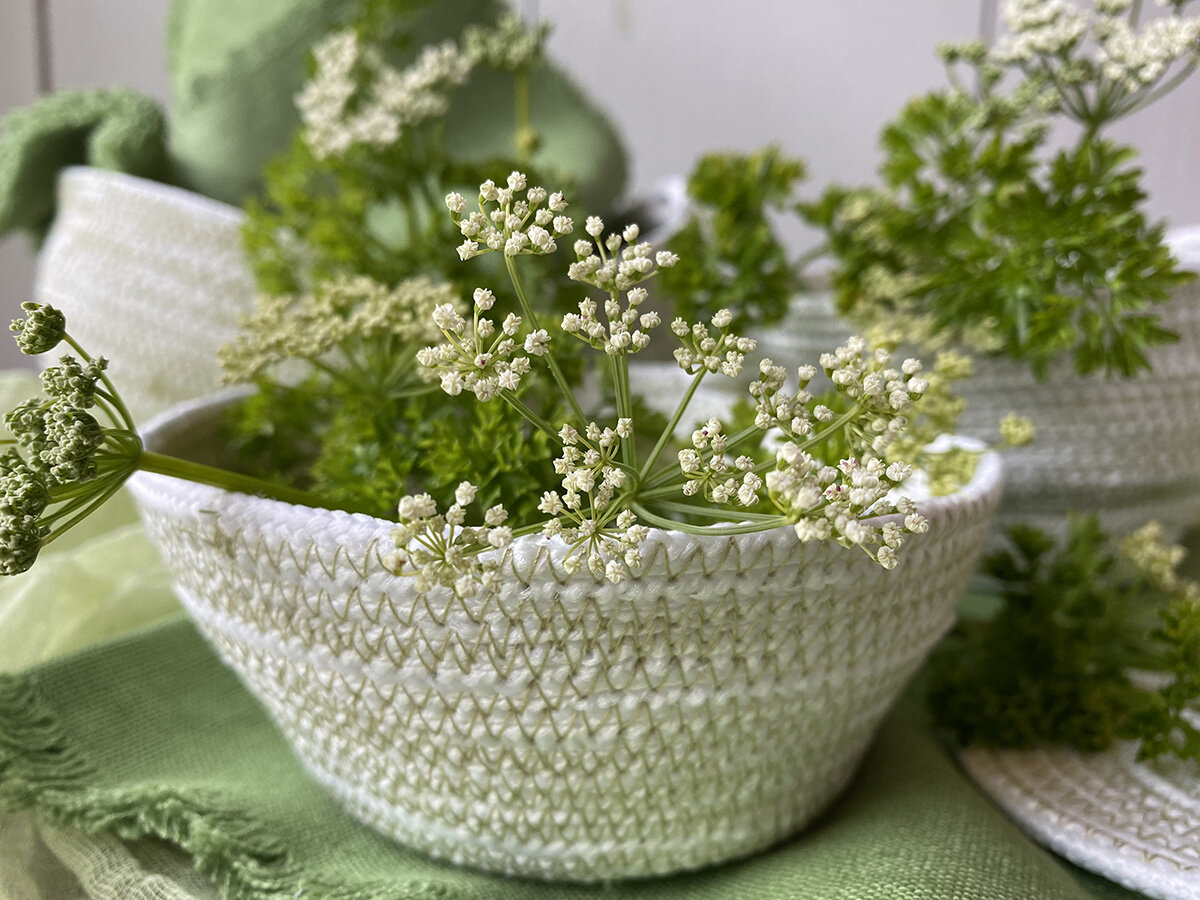
In the Studio
Making and styling rope baskets

Colors inspired by the garden

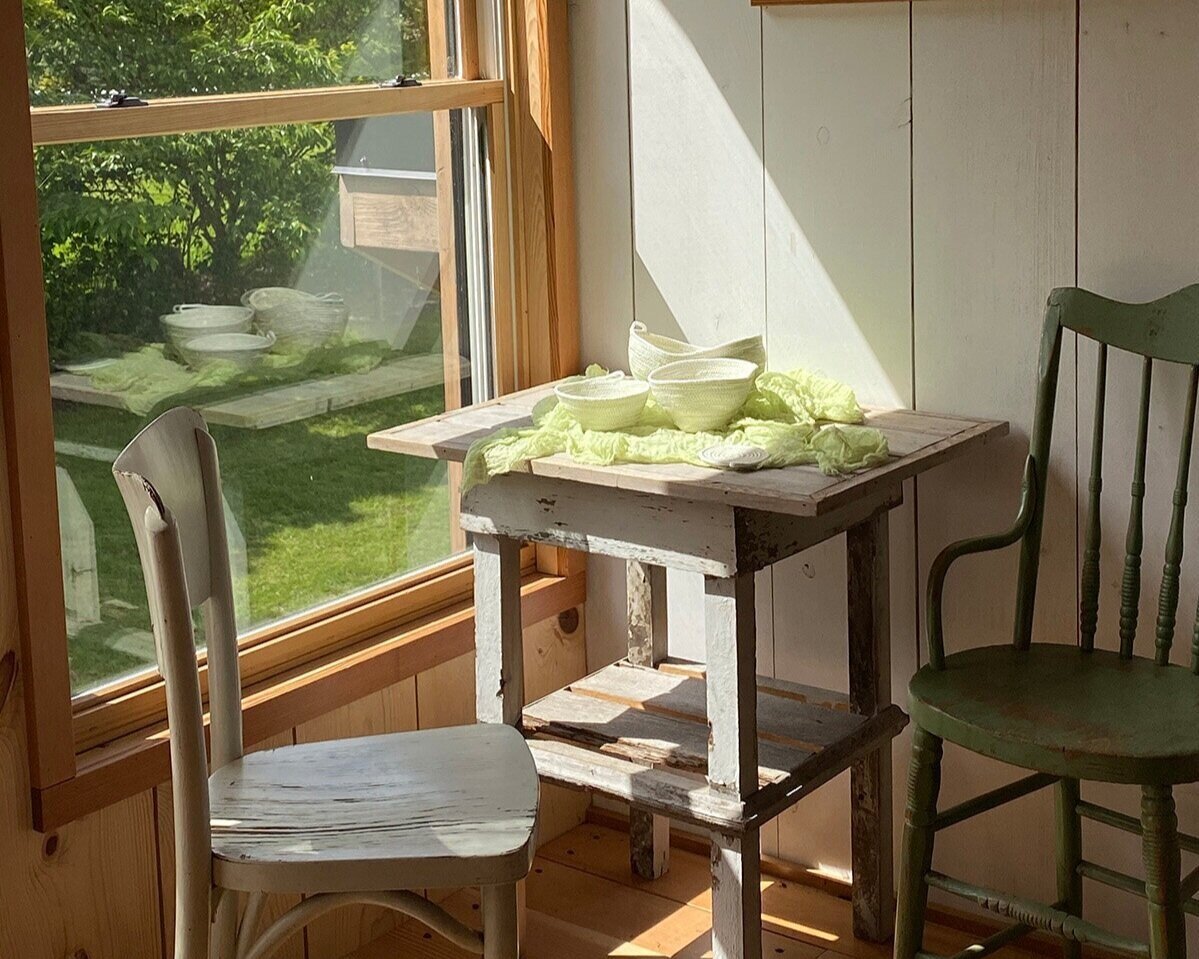
Behind the scenes....beautiful afternoon sunshine!
Featured Project
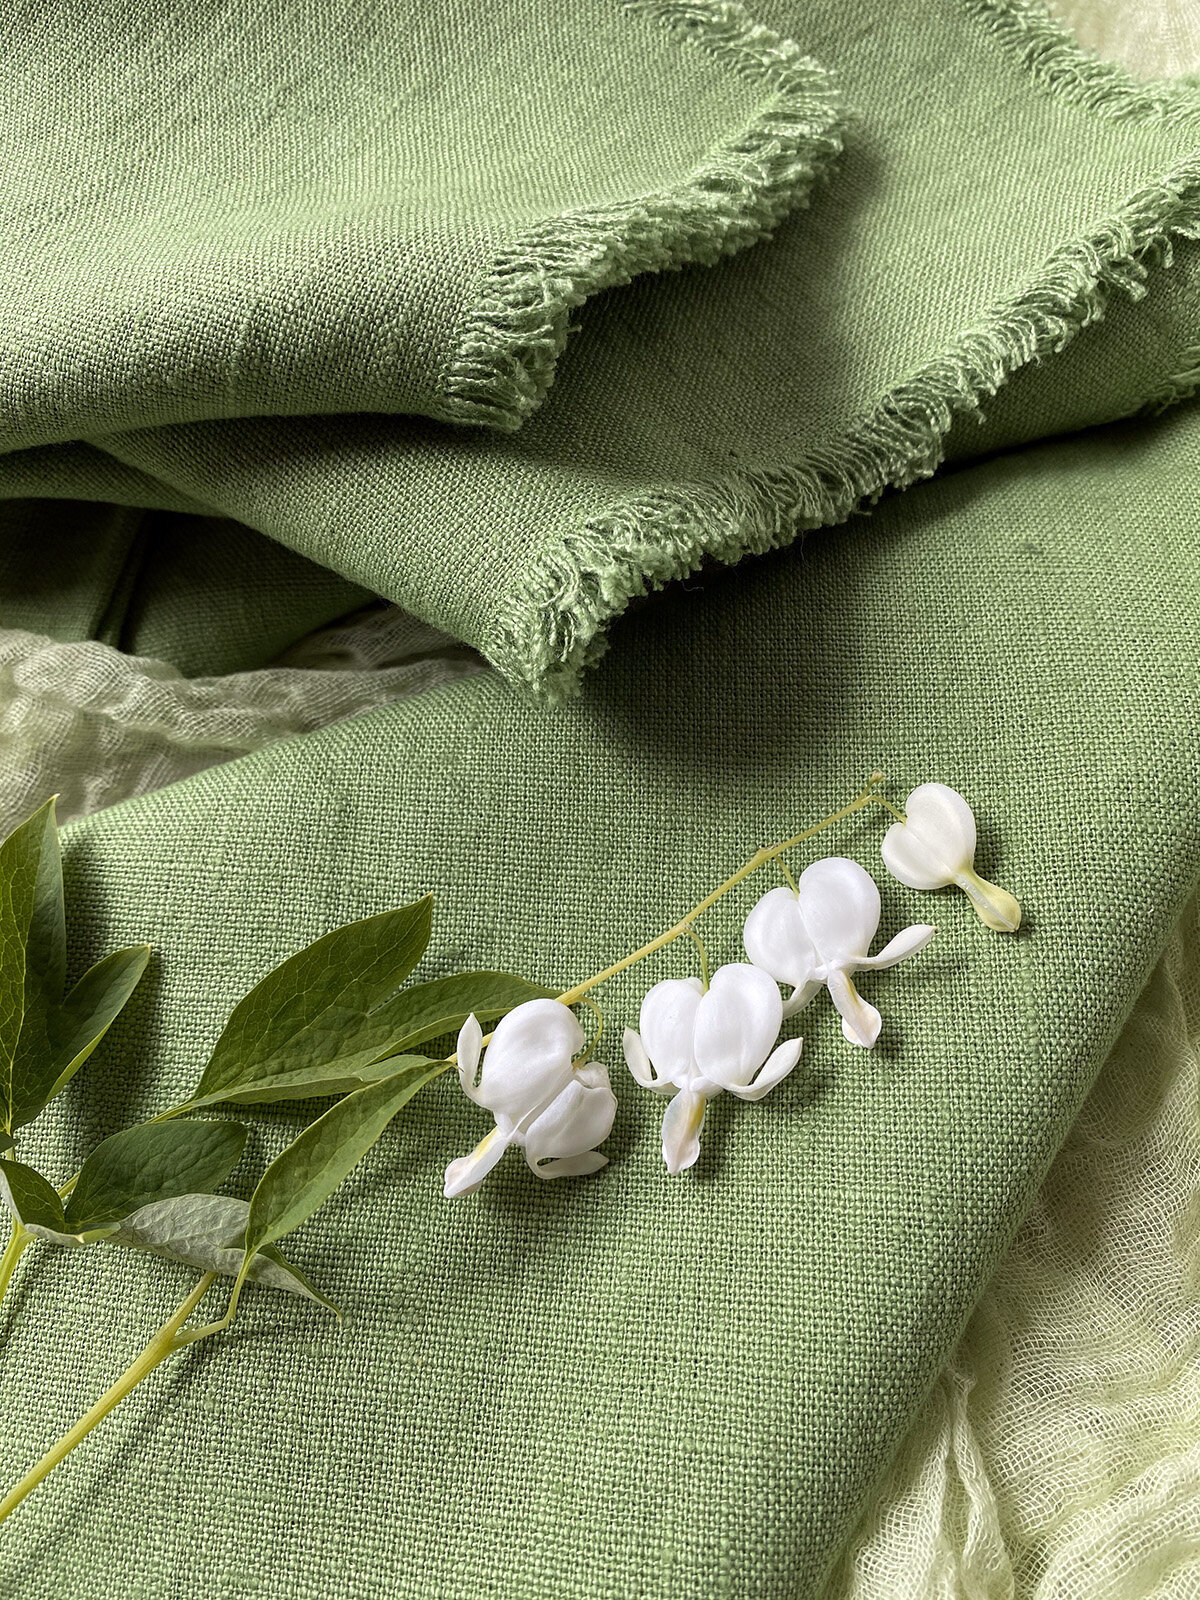
Napkin sale! Our beautiful soft pre-washed linen napkins are on sale for one more week.