DIY Flower Trellis

A few weeks ago we built two new flower trellises. One for our clematis vine and one for our honeysuckle vine. I’m sharing our process, a materials list, what we learned in the building process, and what we would do differently next time!

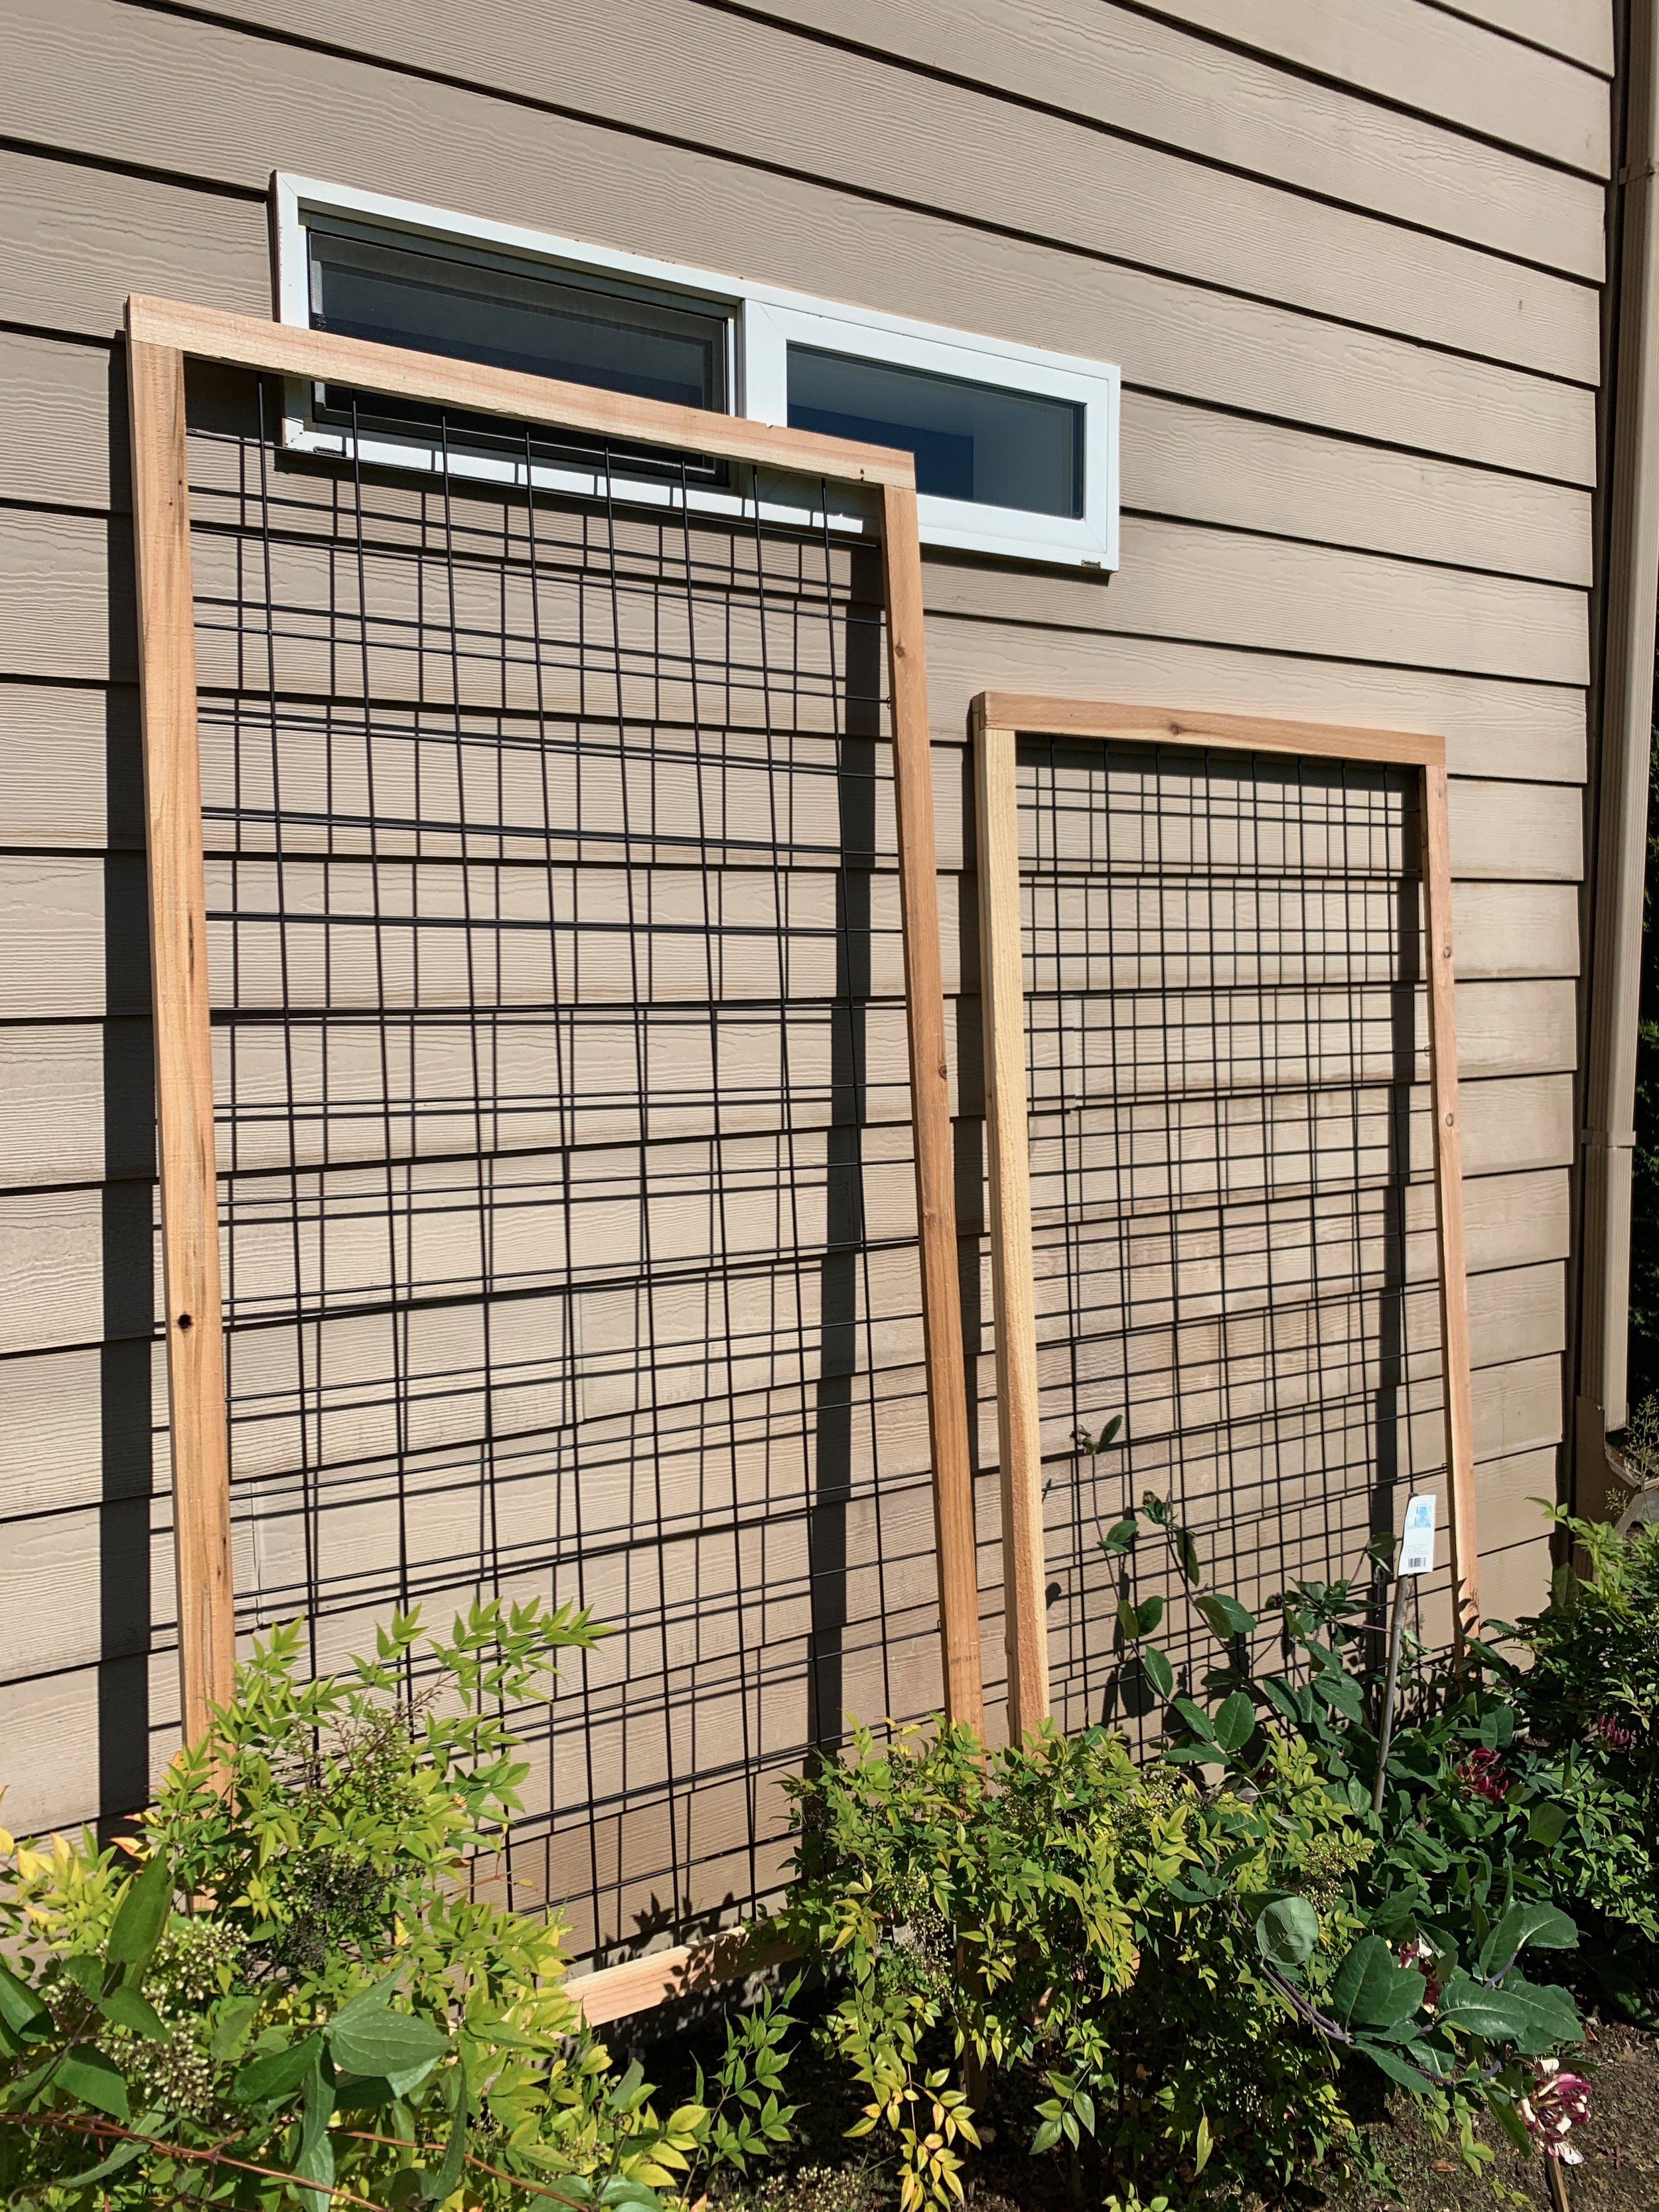
Our old trellis (on the left) was a leftover black fence panel from a past work project. It was meant to be a temporary fixture but somehow “temporary” turned into several years. This year the clematis and honeysuckle vines outgrew the old fence panel so it was time for a change.
I wanted the design to be simple, clean, and something we could build in a weekend.
Materials List for One Flower Trellis
Cedar fence boards for the Frame and Legs
(2) 2” wide x 70.5” long (front)
(2) 2” wide x 38.5” long (front)
(2) 1” wide x 74.5” long (back)
(2) 1” wide x 38.5” long (back)
(2) 1” wide x 20” long with one end cut at an angle (legs)
36” x 6’ Powder Coated Wire Fence Panel
4” flat metal L brackets: 2
6” Black L brackets: 2
Wire Tacks, Wood Glue, Screws, Nail gun and nails

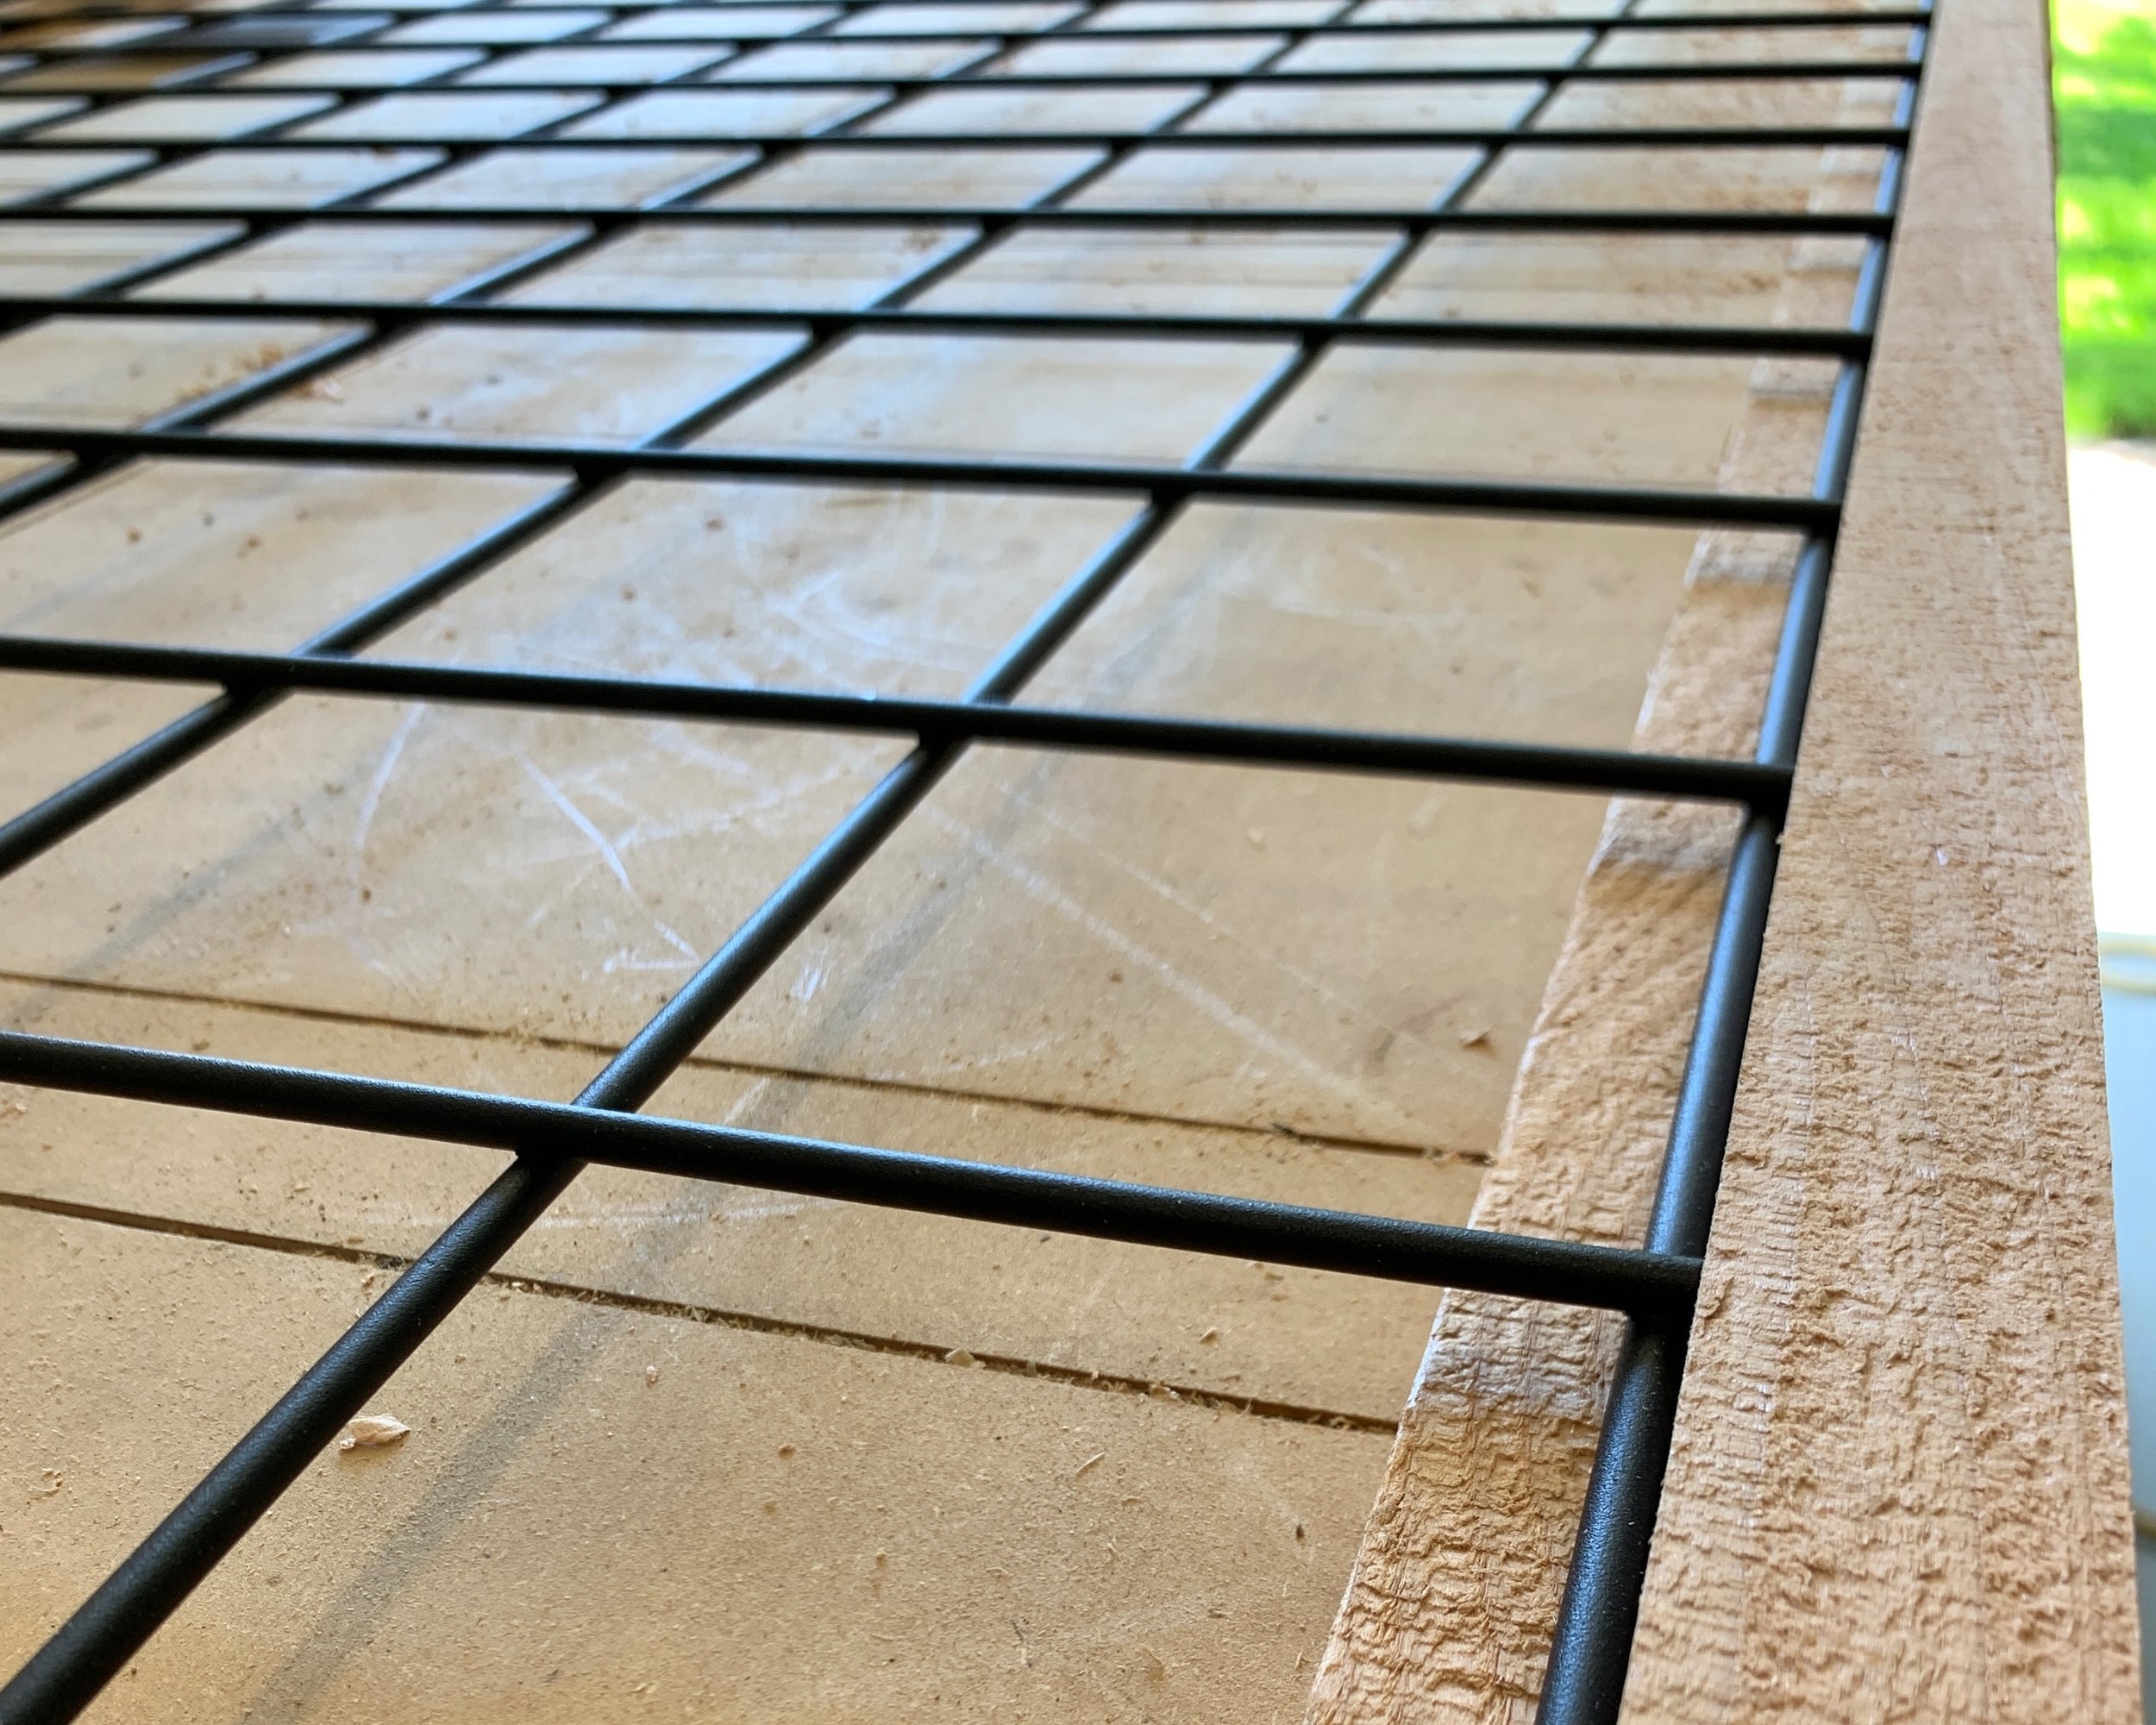
For the Wire: We looked at several different wire mesh options for the trellis and chose a panel called Wild Hog Railing because I liked the color and the size of the cross wires. It has a black powder coating finish that is contemporary looking and weather resistant.


For the Frame: We chose cedar fence boards to make the frame because they were leftover from another project and were taking up valuable space in our barn. That decision was a win-win! Use what we have = free + more space in the barn!


Building the Frame: We cut cedar boards to measure 2” wide for the front of the frame and 1” wide for the back of the frame.

Then we cut them to length on the chop saw. See the materials list for the exact measurements.
Next we assembled the frame by gluing and then nailing the 1” boards to the back of the 2 inch boards.


Flat L brackets were attached at each corner of the wood frame to add stability and the wire panel was set into the frame. We used wire tacks to attach the wire panel to the frame.
What we learned: If we make these trellises again, we would cut the back frame pieces 1.5” wide instead of 1”. Then we will route a pocket in the back of the boards so the wire panel will slip underneath 1/4 inch. This will hold the panel in place, it will look much cleaner, and there will be no need for wire staples. Below is a pictorial of how that would work.

Route a pocket

Tuck wire panel into the pocket

Secure without wire tacks

Adding the Legs: When the trellis frames were complete we added legs to the bottom of each panels.
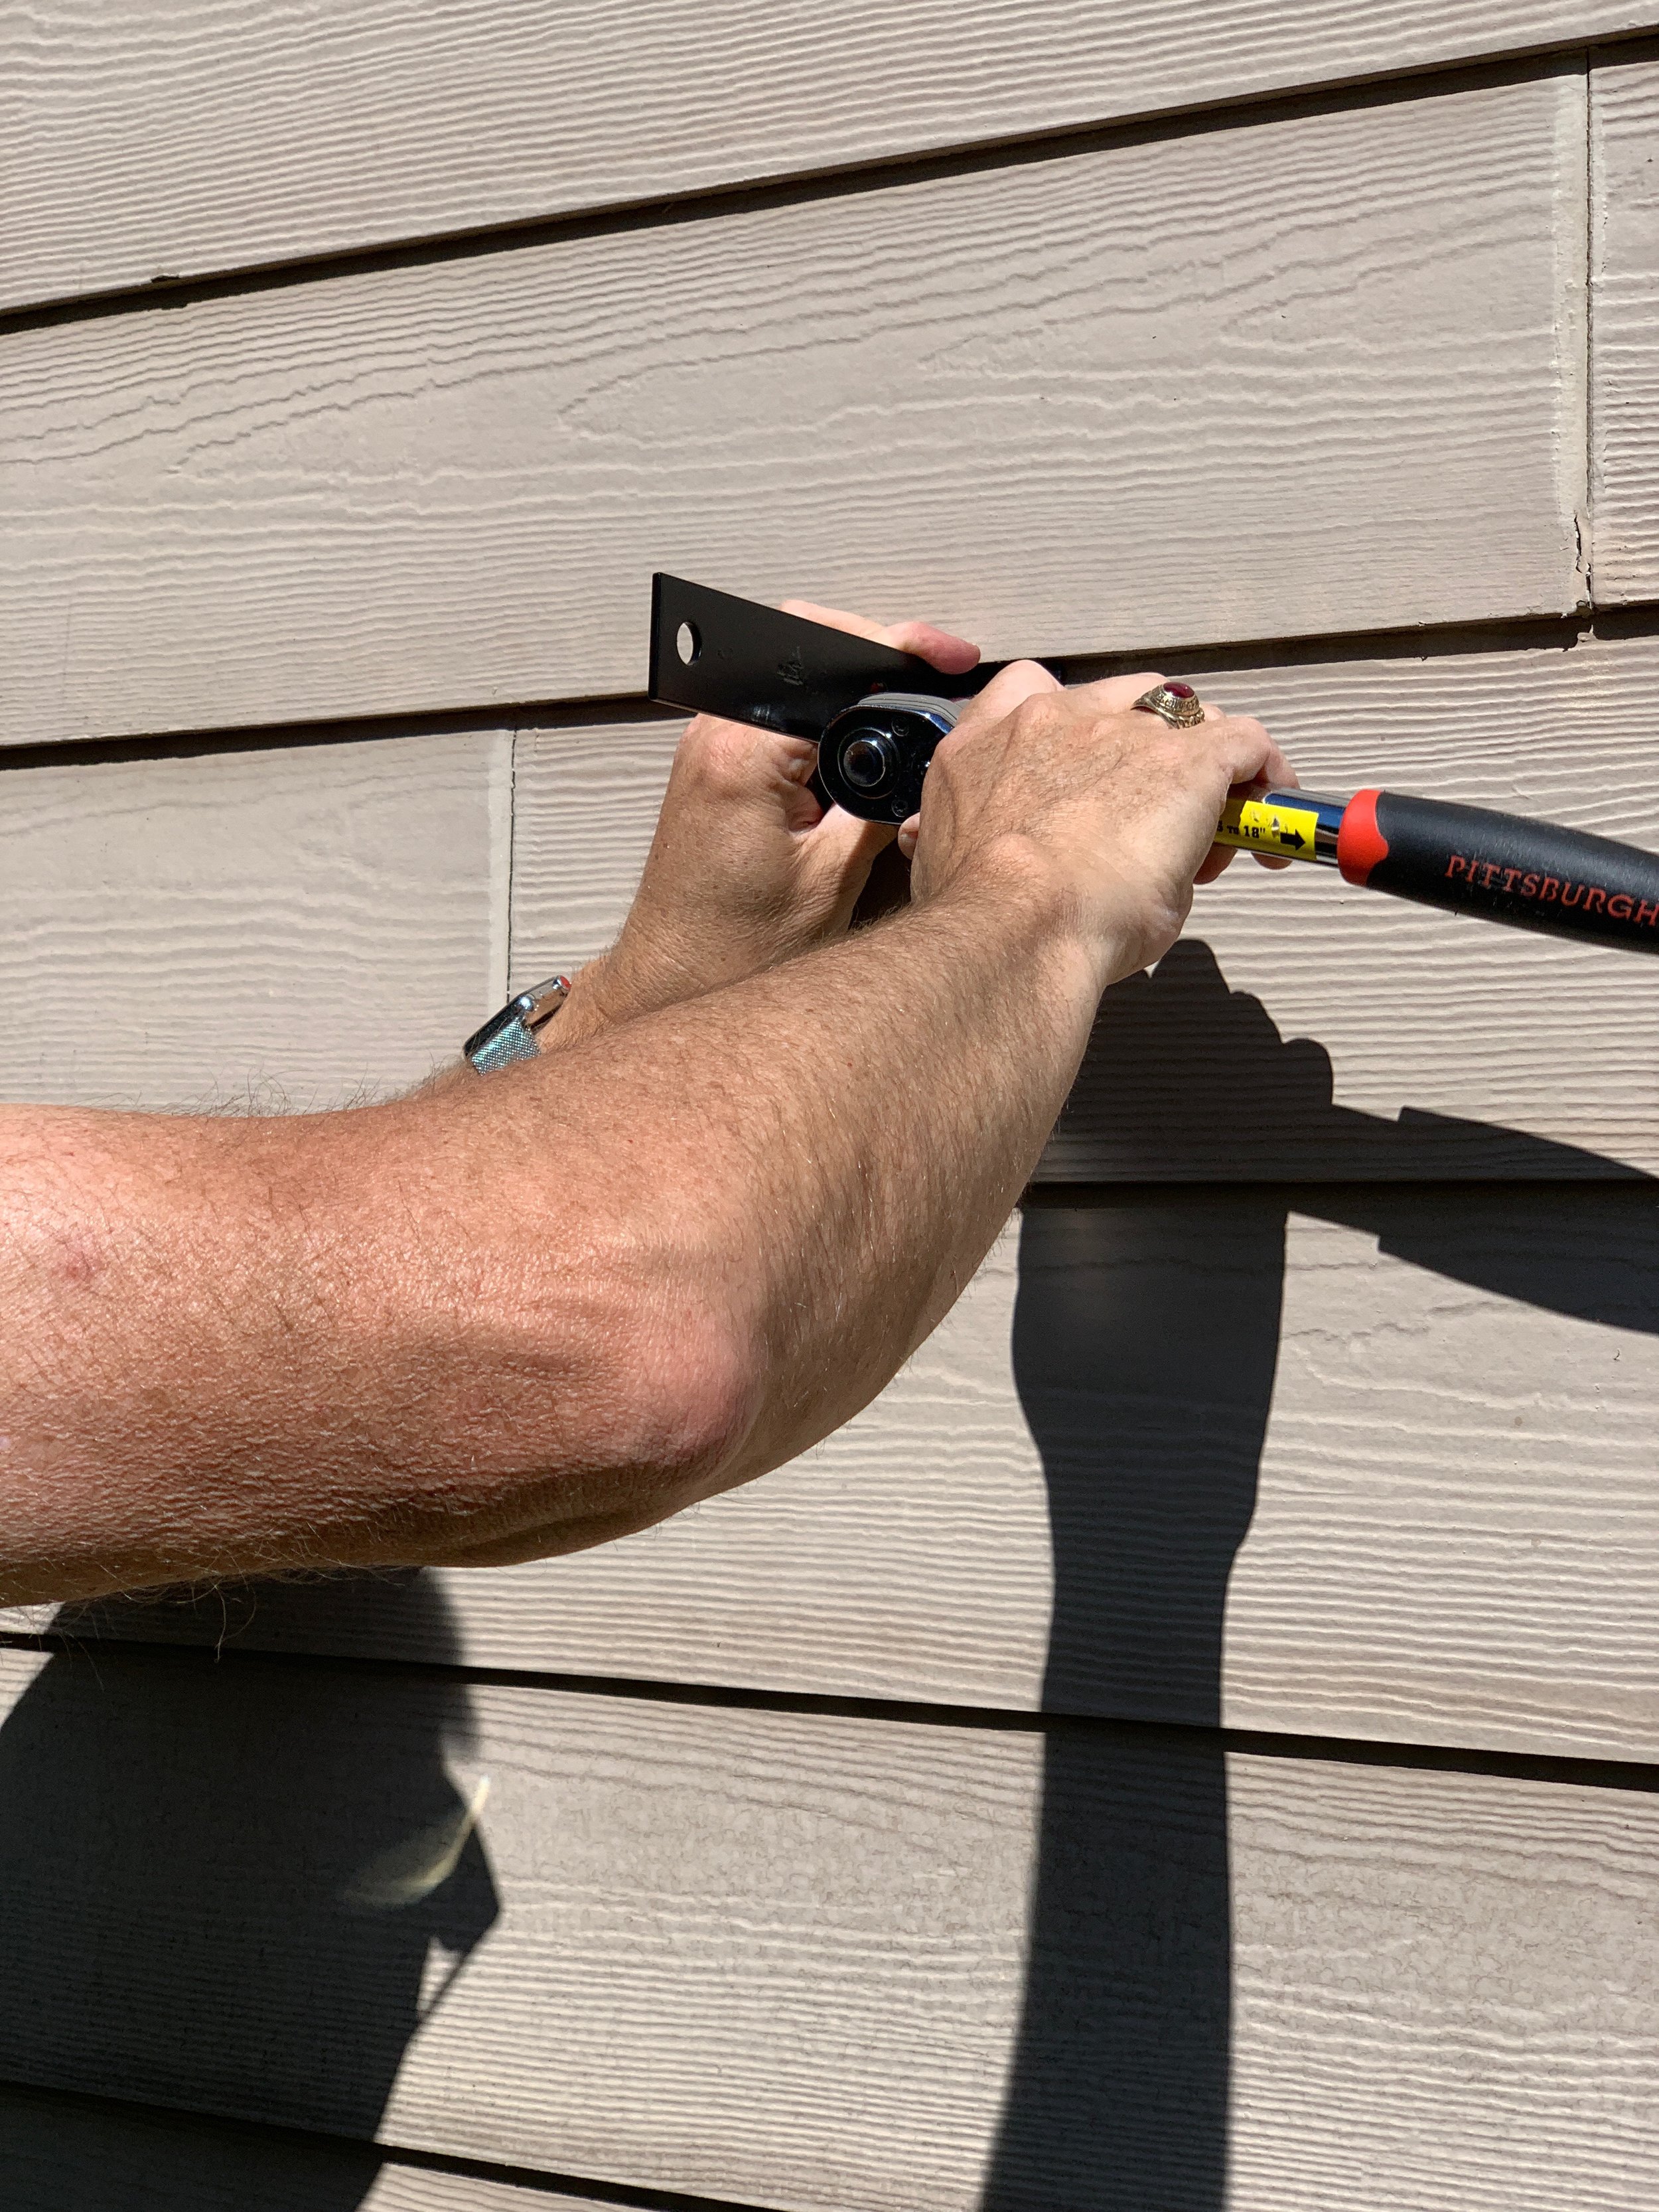

Installation: We attached four black L brackets to the siding on our house and then set the trellises in place.

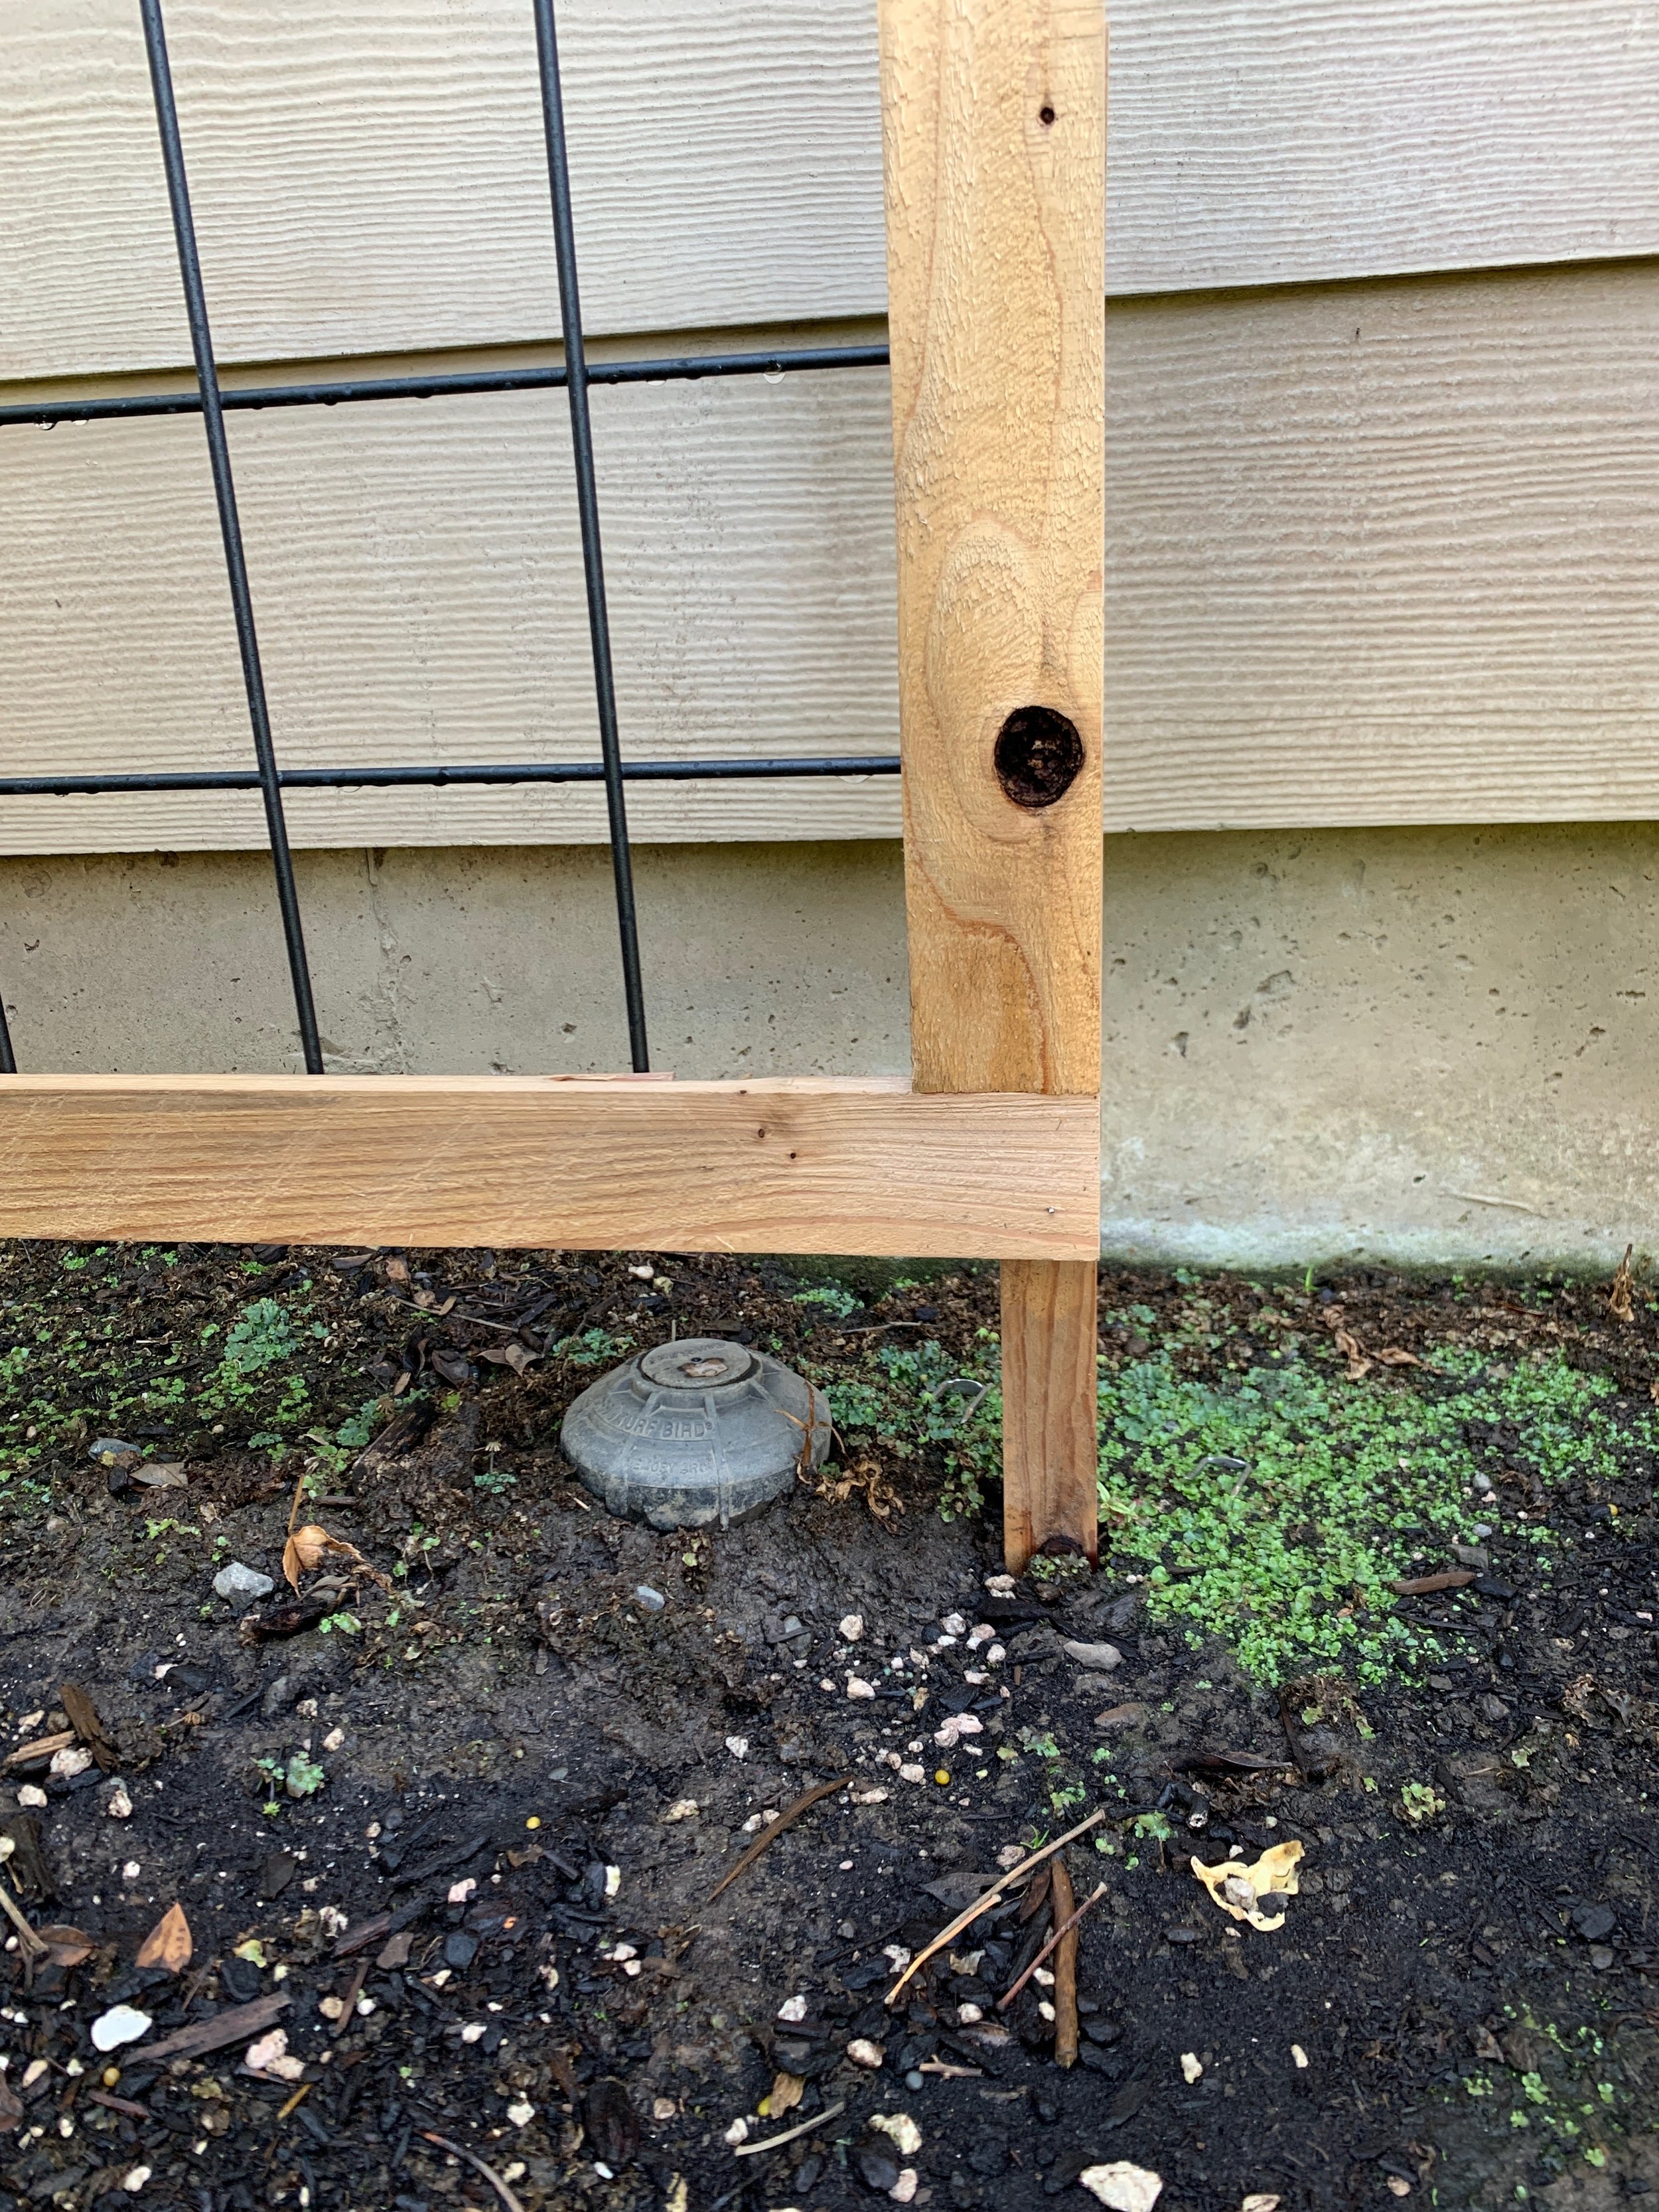
We gently hammered the legs into the ground and use a level to square the top of the frames.

We attached the top of the trellis frames to the black L brackets.

Weaving the Vines: I untangled the vines of the clematis and honeysuckle to get long single runners. The runners were then gently woven into the trellis wire.
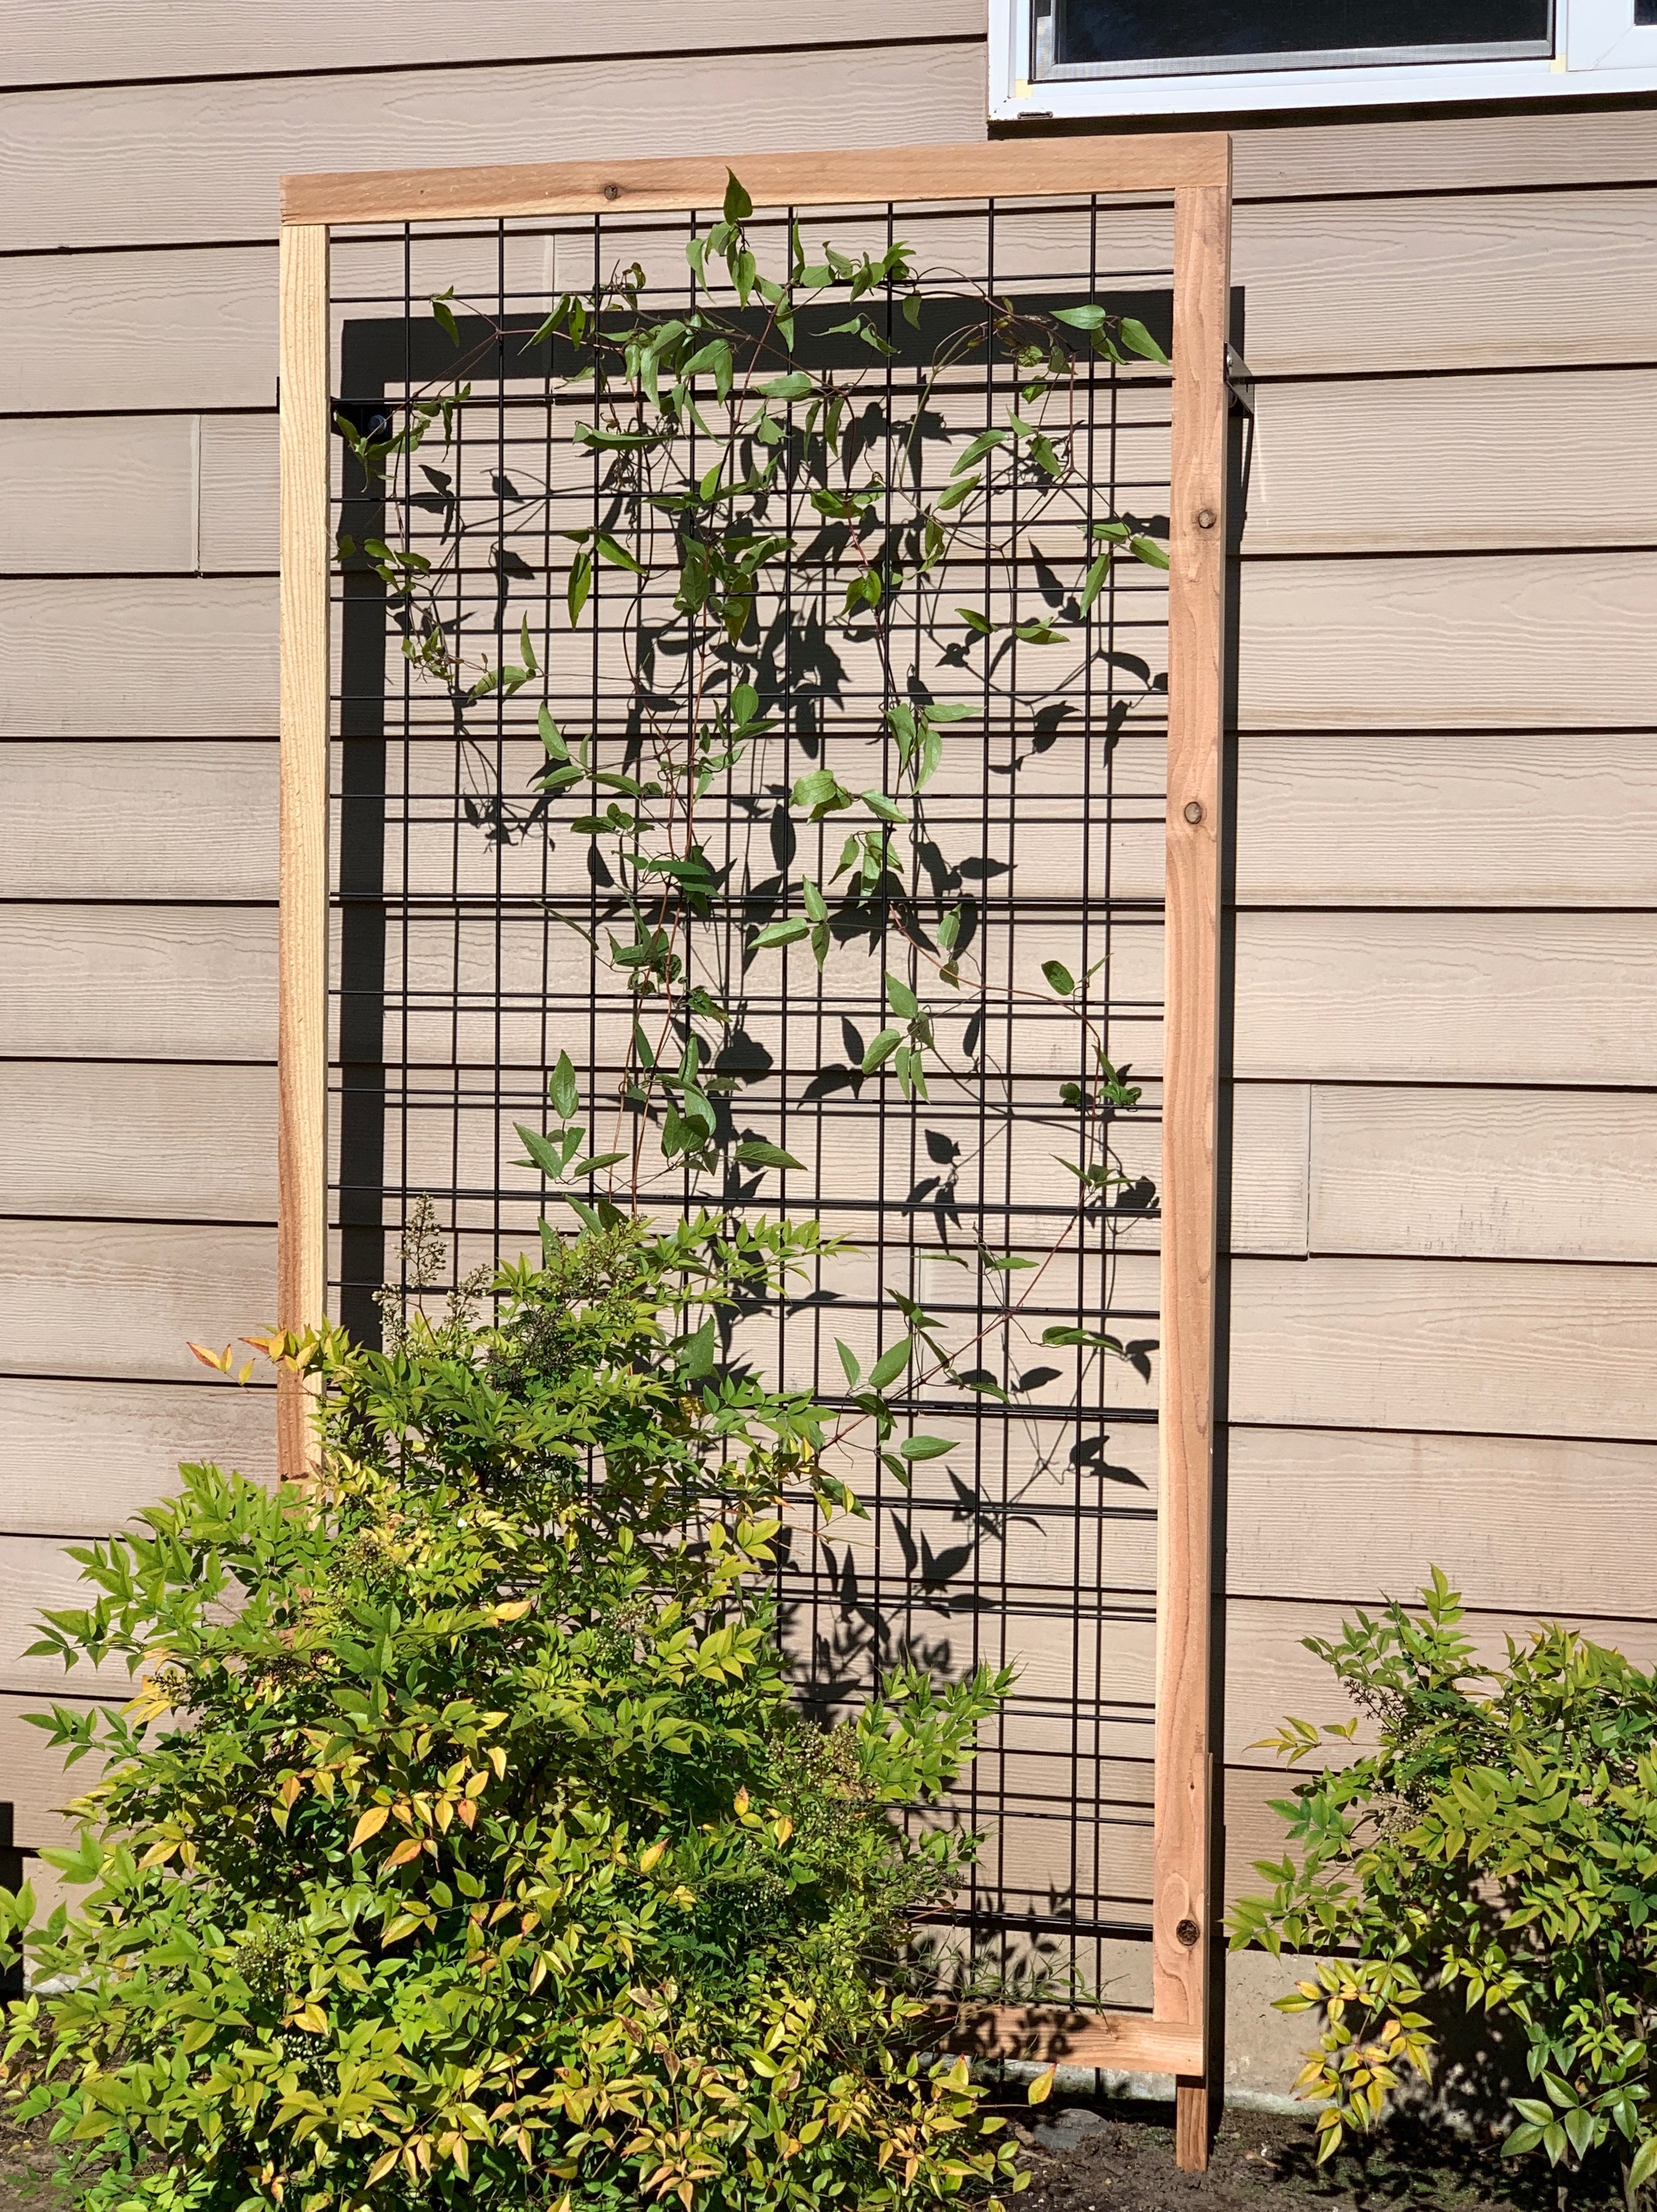

The plants were happy to have a new structure to climb on and they are thriving! Both the clematis and the honeysuckle have reached the top of the trellis and are winding their way around the frames.